Fungi can genuinely help orchids grow, but only the right kinds, applied the right way. Fungi can genuinely help orchids grow, but only the right kinds, applied the right way, which answers the question does fungi help plants grow when conditions and matching are correct. The most important group is orchid mycorrhizal fungi, particularly Rhizoctonia-related species and endomycorrhizal fungi that colonize orchid roots and help them pull in water, phosphorus, and carbon.
How Can Fungi Help an Orchid Grow: A Practical Guide

Marcus Holloway
3 May 2026
Without a fungal partner, most orchid seeds cannot even germinate in nature. For established plants, the right fungal inoculant improves rooting, stress resistance, and pathogen suppression in ways that fertilizer alone never will. The wrong fungi, meaning random molds, soil fungi from your garden, or a product matched to vegetables rather than orchids, can do nothing or actively cause harm.
Why orchids need fungi (and what fungi actually do)
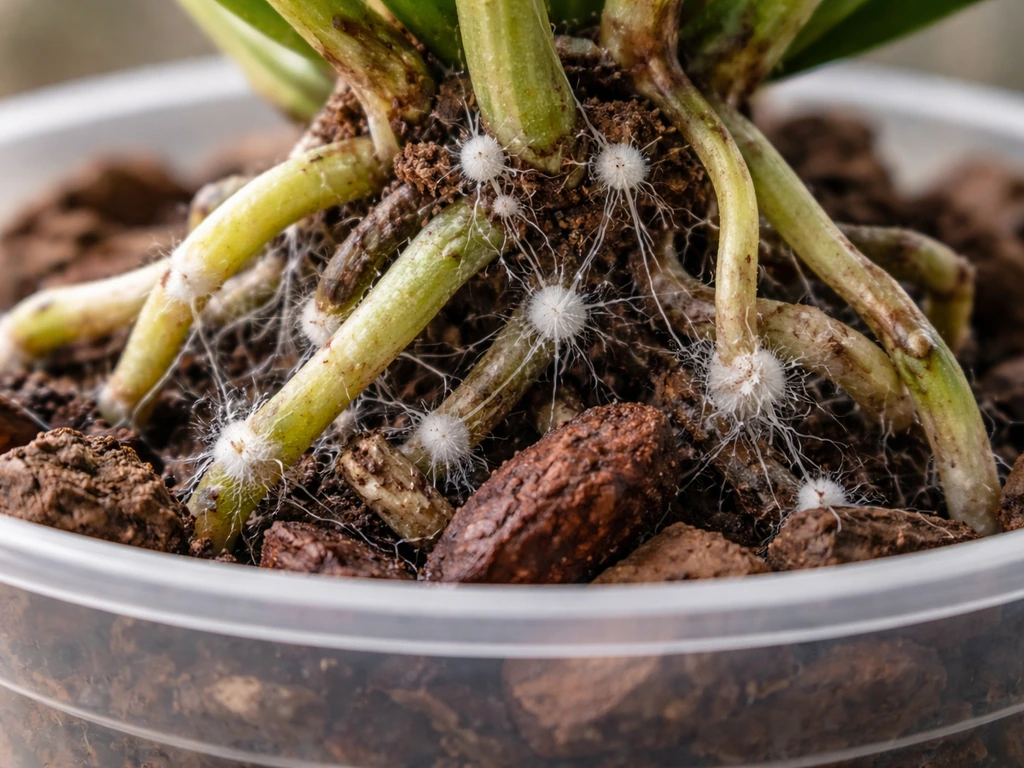
Orchids have one of the most intimate relationships with fungi of any plant family. Orchid seeds are essentially dust: they have almost no endosperm, which means no stored food to fuel germination. In the wild, an orchid seed has to land near the right fungal mycelium and essentially hijack it for carbon and nutrients before it can produce its first photosynthetic tissue. Research confirms that Rhizoctonia-like fungi dominate in natural orchid seed germination, and many orchid species can't establish at all without them. This early phase is called mycoheterotrophy, where the orchid is acting more like a parasite on the fungus than a true partner.
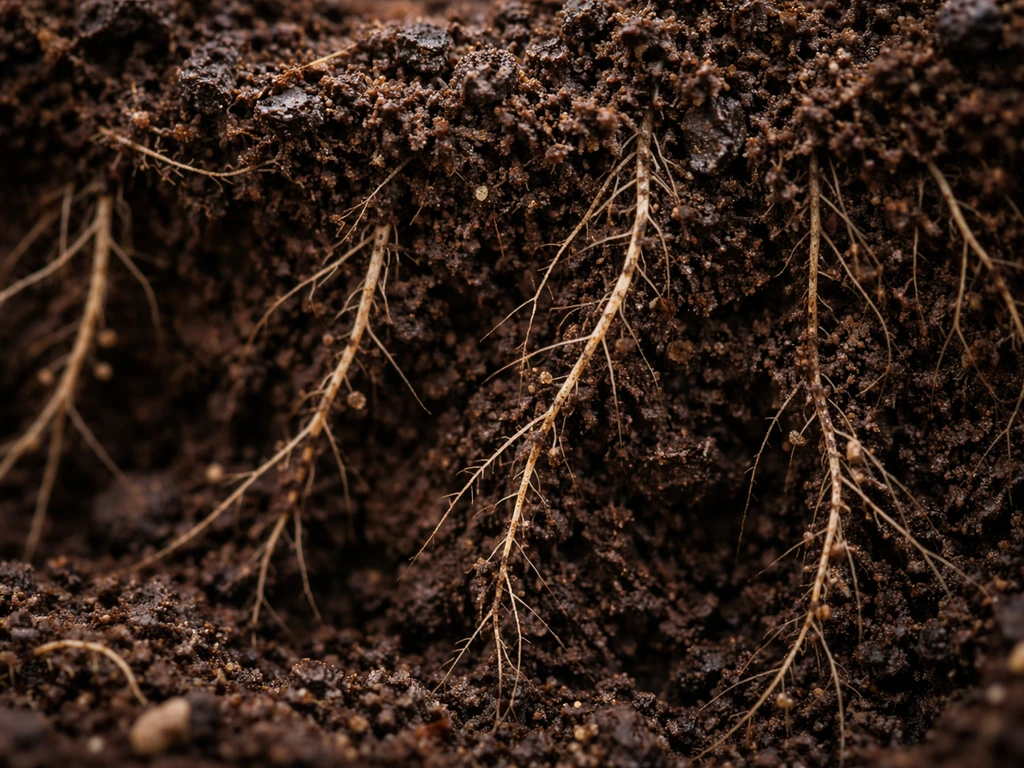
As the orchid matures, the relationship shifts toward mutualism for most epiphytic and terrestrial species. The fungal hyphae, which are threadlike structures far finer than any root hair, extend into bark, wood, or soil and ferry phosphorus, micronutrients, and water back to the orchid. In exchange, the orchid feeds the fungus carbohydrates from photosynthesis.
Studies on forest orchids like Corallorhiza trifida show that carbon can even move from a tree through an ectomycorrhizal network directly into the orchid, essentially turning the fungus into a nutrient highway between the tree and the orchid.
For your potted Phalaenopsis or Dendrobium, that level of network isn't happening, but the root-level benefits of a compatible fungal colonization are still real: better phosphorus uptake, improved drought tolerance, and a root zone that is more hostile to pathogenic fungi and bacteria.
- Nutrient access: fungal hyphae reach phosphorus and micronutrients that roots can't get on their own, especially in low-nutrient bark or sphagnum substrates
- Water relations: mycorrhizal roots handle dry periods better and recover from underwatering faster
- Rooting: colonized roots branch more vigorously and establish after repotting with less stress
- Pathogen suppression: beneficial fungi outcompete and chemically suppress root rot organisms like Fusarium and Pythium
- Stress resistance: plants with active mycorrhizal colonies tolerate temperature swings and low-light periods better
Which fungi help orchids: mycorrhizae vs random molds
Not every fungus you see in or around your orchid pot is beneficial. The two categories worth understanding are mycorrhizal fungi (the genuinely helpful kind) and opportunistic molds or pathogens (which range from harmless to dangerous). Within mycorrhizal fungi, there's another distinction that matters for orchids: endomycorrhizal fungi (which penetrate root cells, including the arbuscular mycorrhizal, or AM, fungi) versus ectomycorrhizal fungi (which form a sheath around roots without entering cells). Most orchid-mycorrhizal associations are endomycorrhizal or technically called orchid mycorrhizae, which are their own unique category distinct from the AM fungi used in vegetable garden inoculants. This distinction matters when you're shopping for products.
Rhizoctonia-related fungi (now placed in genera like Tulasnella, Ceratobasidium, and Sebacina) are the real orchid specialists. These are the fungi behind natural orchid germination and early establishment. Research is clear that orchid-fungus selectivity is high, meaning a particular orchid species tends to form its best associations with a narrow group of fungal partners, not just any mycorrhizal fungus. That said, general endomycorrhizal inoculants containing Glomus (now Rhizophagus) species can still benefit established orchids even if they don't replicate the specialized orchid-seed relationship. They're a practical compromise for home growers.
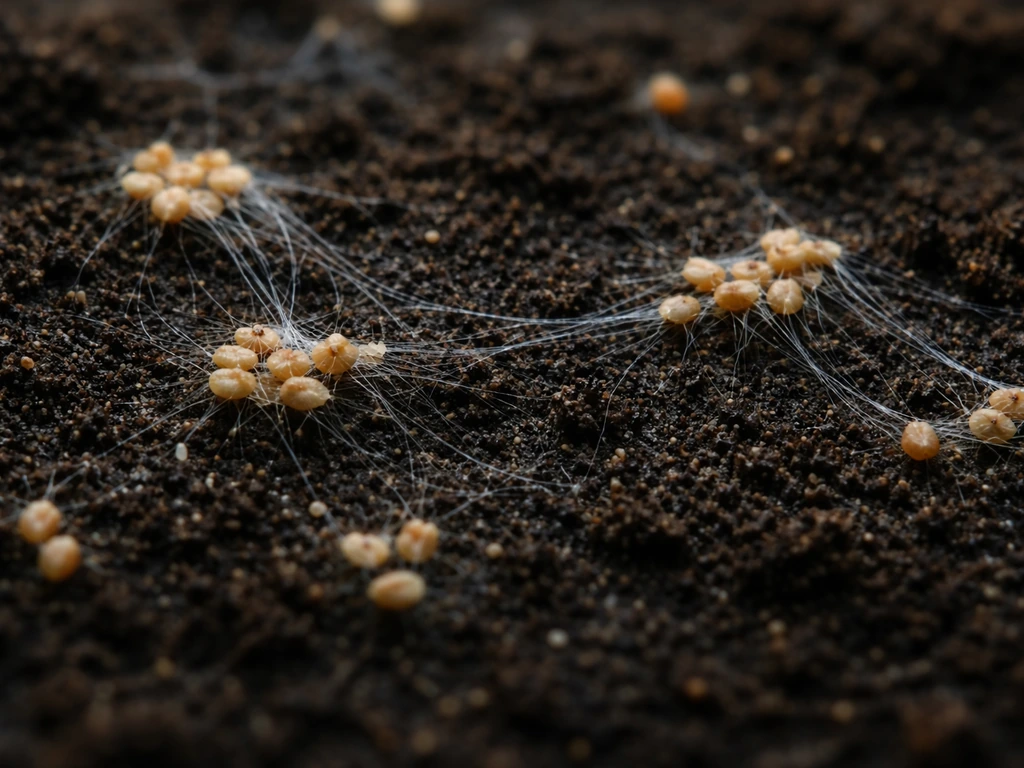
White fuzzy mold on the surface of bark or sphagnum is usually saprophytic fungi breaking down organic matter. This is mostly harmless and sometimes mildly beneficial, as it contributes to nutrient cycling. True problems arise with grey mold (Botrytis), black rot (Phytophthora), and Fusarium wilt, which are pathogenic fungi that attack live tissue. The key rule: surface mold that doesn't touch roots or crowns is usually fine. Mold colonizing the base of leaves, new growth, or root tips needs to be removed immediately.
| Fungus type | What it does | Good or bad for orchids? | Practical note |
|---|---|---|---|
| Tulasnella / Ceratobasidium (orchid mycorrhizae) | Colonizes orchid roots, transfers carbon and nutrients | Very good | Best for seed germination and seedling establishment; hard to find commercially |
| Rhizophagus (AM fungi) | Endomycorrhizal, improves phosphorus and water uptake | Good for established plants | Found in most commercial mycorrhizal products; not orchid-specific but useful |
| Trichoderma species | Competes with pathogens, promotes root branching | Good as a supplement | Sold standalone or mixed into mycorrhizal products; suppresses Fusarium and Pythium |
| Saprophytic white molds | Break down bark/wood, contribute to nutrient cycling | Neutral to mildly helpful | Don't remove unless touching plant tissue directly |
| Botrytis (grey mold) | Infects soft tissue, especially in humid/stagnant air | Bad | Remove affected tissue, improve airflow immediately |
| Fusarium / Phytophthora | Root and crown rot pathogens | Bad | Usually triggered by overwatering and poor drainage, not by adding good fungi |
Best fungal products to use and how to choose
The market for mycorrhizal inoculants has grown a lot, but most products are designed for vegetables, turf, or trees rather than orchids. BioWorks’ RootShield PLUS+ WP spec/mini label lists multiple target pathogens including Fusarium, Pythium, Phytophthora, Rhizoctonia, and Thielaviopsis and includes label rate information for use RootShield PLUS+ WP lists targets including Fusarium, Pythium, Phytophthora, Rhizoctonia, and Thielaviopsis. Here's what to actually look for when choosing a product for orchids.
Orchid-specific vs general mycorrhizal inoculants
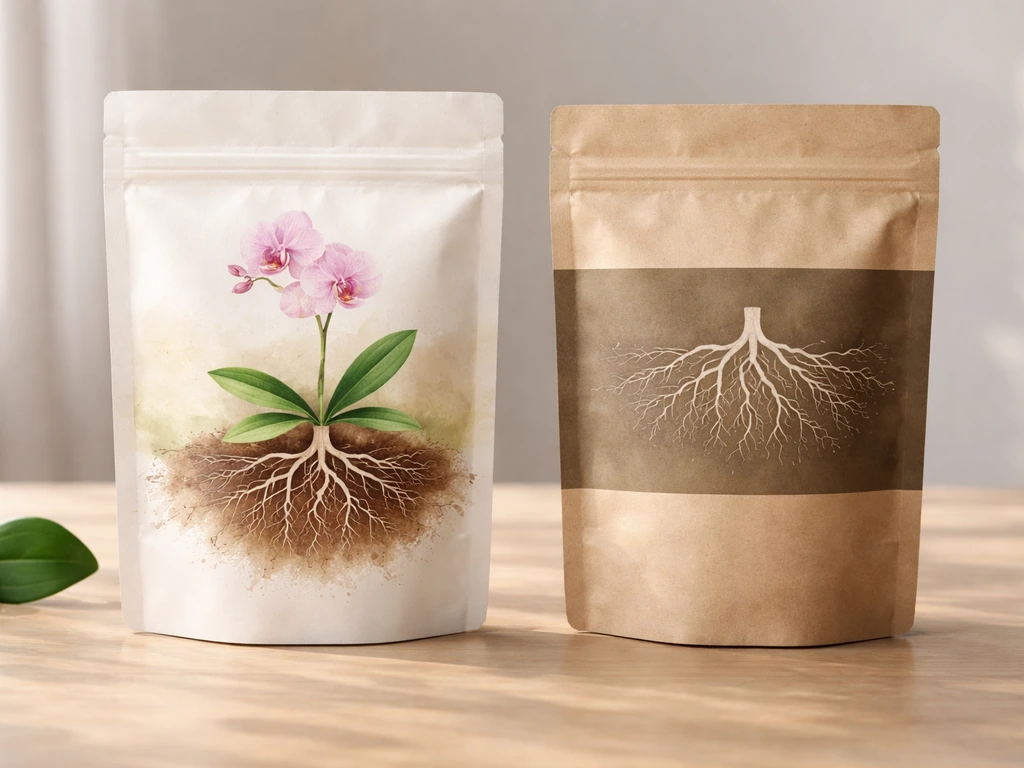
A handful of products are formulated specifically for orchids and contain Tulasnella, Ceratobasidium, or related species. These are the gold standard for anyone trying to germinate orchid seeds outside of lab conditions or establish bare-root seedlings. They're harder to find and more expensive, but if you're working with seedlings or recently deflasked plants, they're worth tracking down. For mature potted orchids, a general endomycorrhizal product containing Rhizophagus irregularis (sold under various names including Glomus intraradices in older labeling) gives you real benefits at a much lower cost. Look for products that specify colony-forming units (CFUs) on the label, ideally at least 200 spores per gram. Avoid products with vague claims and no CFU count.
Products worth considering
- MycoGold or similar orchid-specific inoculants: contain orchid-compatible fungal strains, often combined with beneficial bacteria; best for seedlings and deflasked plants
- Plant Success Organics or Xtreme Gardening Mykos: broad-spectrum endomycorrhizal products with solid CFU counts; good for established plants at repotting
- Trichoderma-based products (like RootShield): excellent as a complement to mycorrhizal inoculants for pathogen suppression, especially in humid orchid setups
- Orchid bark pre-inoculated with beneficial fungi: some specialty orchid nurseries sell substrate already colonized with beneficial organisms; this is the easiest application method if you can find it
- Live sphagnum moss: naturally harbors beneficial microorganisms including fungal species compatible with epiphytic orchids; using live (not dried) sphagnum adds microbial diversity to any setup
One thing to avoid: random mushroom products, garden soil, or compost added directly to orchid media. Garden soil introduces unknown molds, bacteria, and even pests at densities that overwhelm orchid roots. Compost is too dense and moisture-retentive for most orchids. Mushroom mycelium products sold for edible cultivation (like grain spawn for oyster mushrooms) are ectomycorrhizal or saprophytic and have no documented benefit for orchid roots. If you're wondering whether mushrooms help plants grow, note that the edible-cultivation mushroom mycelium products mentioned above are typically ectomycorrhizal or saprophytic and have no documented benefit for orchid roots how mushrooms relate to plant growth. Stick to purpose-made inoculants.
How to apply fungal inoculants step-by-step (by orchid setup)
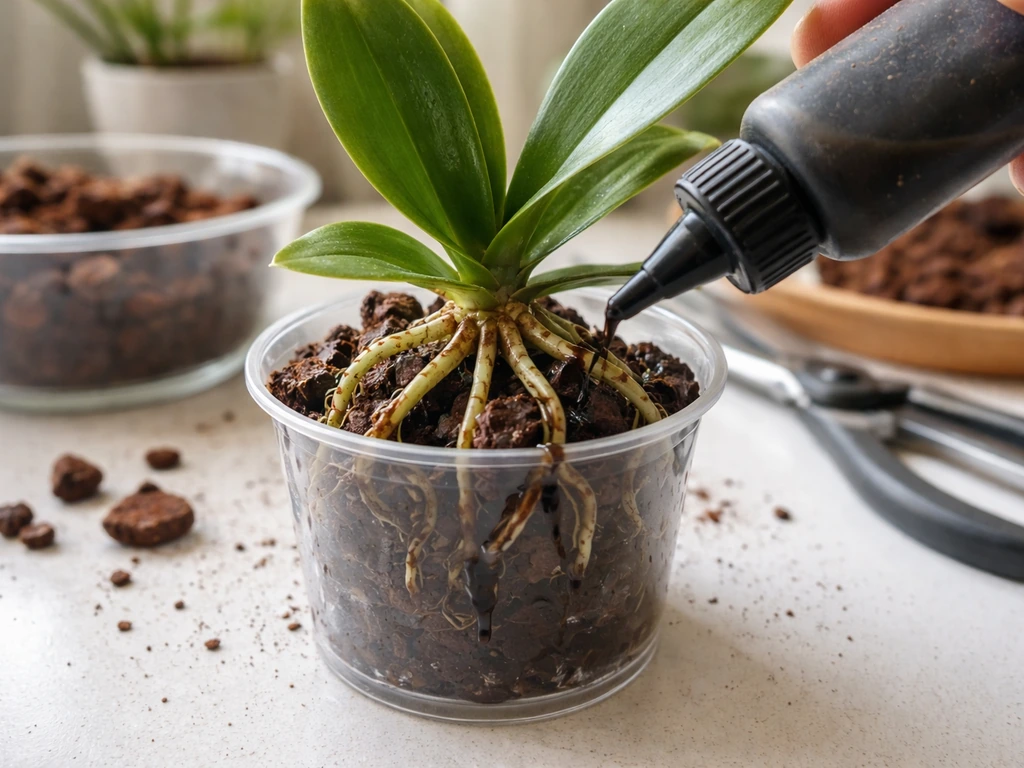
Timing and method matter. The best window for applying mycorrhizal inoculant is at repotting, when roots are exposed and can make direct contact with the inoculant. Applying to the surface of a pot with established media is the least effective approach because the inoculant rarely reaches the root zone. Below are step-by-step methods for each common orchid setup.
Bark or wood chip medium (Phalaenopsis, Cattleya, Dendrobium)
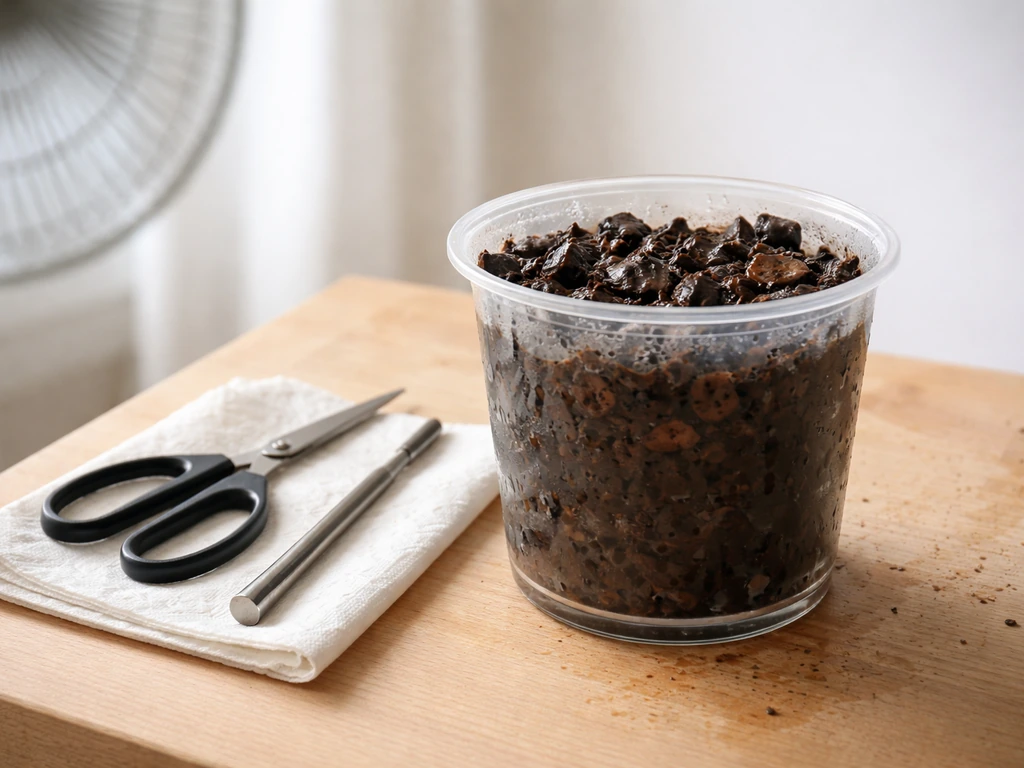
- Remove the orchid from its pot and gently rinse roots with room-temperature water. Trim dead or mushy roots cleanly with sterile scissors.
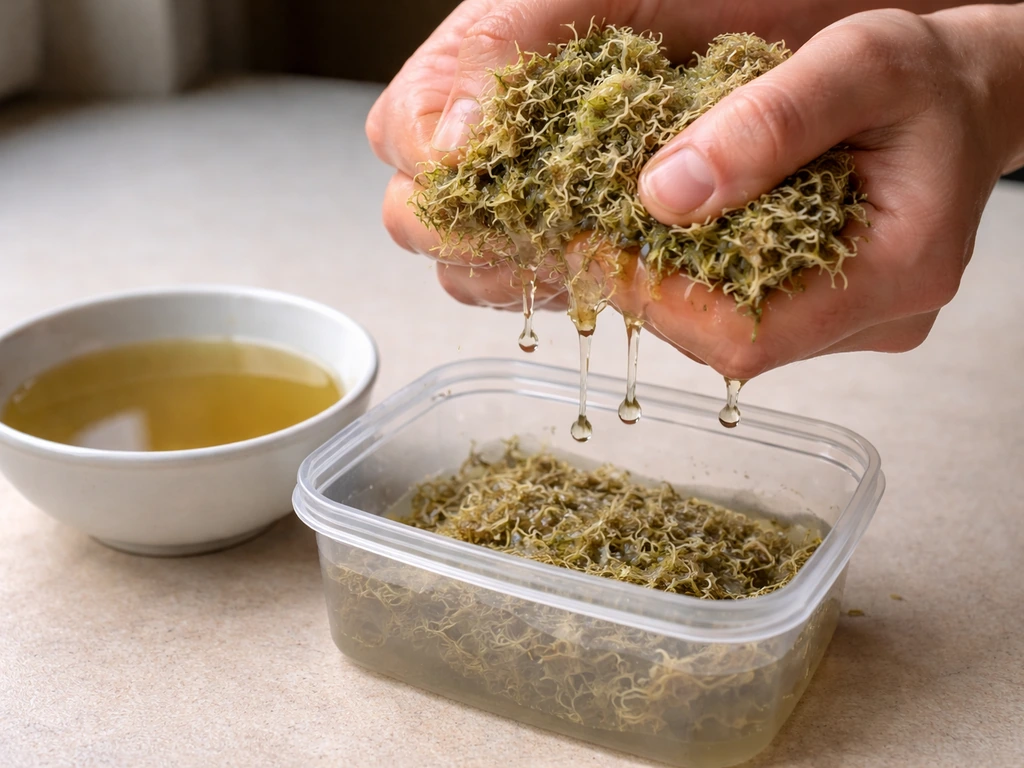
- Dust exposed healthy roots directly with powdered mycorrhizal inoculant, or dip roots in a slurry made by mixing the inoculant powder with water to a thin paste consistency.
- Let the roots air-dry for 15 to 20 minutes so the inoculant adheres.
- Mix additional inoculant powder into the bark at roughly the manufacturer's recommended rate (usually 1 to 2 teaspoons per gallon of medium).
- Pot the orchid so the root system sits in direct contact with the treated bark. Do not add a layer of plain, untreated bark between the roots and the treated medium.
- Water lightly with plain, unchlorinated water (or water that has sat out overnight to off-gas chlorine). Avoid fertilizer for the first 3 to 4 weeks so the fungal colony can establish before nutrients are introduced.
Sphagnum moss setup
- Soak sphagnum until fully hydrated, then wring it out to about the moisture level of a wrung-out sponge.
- Dissolve or mix inoculant into a small amount of water and pour over the damp sphagnum, then mix thoroughly by hand.
- Wrap roots loosely in the treated sphagnum rather than packing it tightly. Sphagnum should never be compressed around orchid roots.
- If using live sphagnum, no additional inoculant is strictly required, though adding Trichoderma to live sphagnum setups can help suppress pathogenic mold without harming the moss.
Bare-root or freshly deflasked seedlings
- Rinse seedlings gently in clean, room-temperature water to remove agar residue if deflasking from a flask.
- Prepare an orchid-specific inoculant slurry (Tulasnella or Ceratobasidium-based if available) and soak seedlings in it for 10 to 15 minutes.
- Plant into moist, fine-grade orchid bark or sphagnum that has been pre-treated with inoculant.
- Keep humidity high (70 to 80 percent) and light low (foot-candles around 500 to 1000) for the first two to four weeks. Mycorrhizal colonization is extremely sensitive to stress at this stage.
- Avoid fungicides entirely during this establishment phase. Even mild fungicide residue in tap water can kill the inoculant.
Semi-hydroponic (LECA or similar inorganic media)
Semi-hydroponic setups are challenging for mycorrhizal fungi because the constant moisture and inorganic substrate don't support fungal colonization well. In these systems, focus on Trichoderma-based biocontrol products added to the reservoir water at very low rates rather than mycorrhizal inoculants. A few drops of a Trichoderma drench product per liter of reservoir water, refreshed at every water change, can help suppress root rot without requiring a true fungal colony to establish. Arbico Organics’ RootShield Plus WP is described as a preventive biological fungicide for major root diseases including Fusarium, Phytophthora, Pythium, and Rhizoctonia.
Common mistakes and safety: avoiding rot, contamination, and bad substrates
The number one concern orchid growers bring to fungal inoculants is rot. It's a fair concern. But here's the reality: inoculant-related rot is almost always caused by conditions that were already wrong before the inoculant was added. Overwatered bark, a pot with no drainage, or a root system that was already compromised will rot with or without fungi. Mycorrhizal fungi don't cause rot. Pathogenic fungi like Phytophthora do, and they thrive in the exact conditions that suffocate beneficial fungi: standing water and no airflow.
- Never apply inoculant to a pot with existing rot: treat the rot first (trim and treat with a dilute hydrogen peroxide solution), let the roots dry for 24 hours, then repot with inoculant
- Don't pack media too tightly around roots after inoculating. Orchid roots need airflow. Compacted bark or sphagnum retains too much moisture and suffocates both the roots and the beneficial fungi.
- Don't mix inoculants with tap water that has high chlorine or chloramine content. Use filtered water, rainwater, or tap water left uncovered overnight.
- Don't apply fertilizer at full strength for the first month after inoculating. High-phosphorus fertilizers in particular suppress mycorrhizal colonization because the fungus is less needed when phosphorus is already abundant.
- Don't assume all surface mold is dangerous. White mycelium on the top of bark is usually saprophytic decomposition and can be left alone or gently scraped off the surface if it bothers you.
- Keep inoculant products out of direct sunlight and heat. Many products lose viability quickly if stored at room temperature for extended periods. Refrigeration extends shelf life significantly.
- Don't cross-contaminate between sick plants and healthy ones using the same tools. Sterilize scissors and potting tools between plants.
Troubleshooting: signs fungi are working vs when to adjust care
Mycorrhizal colonization is invisible for the first several weeks and then shows up indirectly through plant behavior. You're not going to see the fungus; you're going to see what it does for the plant.
Signs the fungal relationship is working
- New root tips appear within 4 to 8 weeks of repotting with inoculant, often more numerous than before
- Existing roots appear firmer and retain their green or silver-green color longer between waterings
- New leaf growth emerges within the normal seasonal window, or earlier than expected
- The plant recovers from repotting stress faster than previous repottings without inoculant
- Root tips have a slightly velvety texture when examined closely, which indicates fungal colonization of the velamen (the outer root layer)
Signs something is wrong and fungi aren't the fix
Fungi are not magic. If your orchid isn't improving after six to eight weeks with inoculant applied correctly, check the non-fungal factors first before adding more product or trying a different brand.
- Light: Phalaenopsis needs 1,000 to 1,500 foot-candles of indirect light; Cattleya and Dendrobium need 2,000 to 3,000. Low light shuts down photosynthesis, which means no carbohydrates to share with fungi, which means the mycorrhizal relationship collapses even if the inoculant was applied correctly.
- Watering rhythm: if bark is staying wet for more than 7 to 10 days before the next watering, you're overwatering for your humidity and airflow conditions. Slow down watering and improve airflow before assuming the fungi aren't working.
- Temperature: most commonly grown orchids prefer a 10 to 15 degree Fahrenheit difference between day and nighttime temperatures to trigger growth cycles. Without this, even a healthy plant with good mycorrhizae stalls.
- Fertilizer timing: resume a dilute fertilizer regimen (half-strength, balanced, or low-phosphorus) after the first month post-repotting. Without any nutrients after that initial establishment phase, growth will slow.
- Fungicide residue: if you've recently treated with a systemic fungicide, it may have killed the inoculant. Wait 6 to 8 weeks after any fungicide application before re-inoculating.
A word on myths that sometimes intersect with this topic: talking to your orchid or playing music near it will not substitute for or enhance mycorrhizal activity. These are enjoyable habits with no measurable effect on root biology. The factors that genuinely interact with fungal health are light intensity, watering rhythm, temperature, and fertilizer chemistry. Focus there.
Next-steps checklist for growing an orchid with fungal support
Here's a practical checklist you can run through today. It's ordered so that you address the most impactful steps first and don't waste money on inoculant until your conditions are ready.
- Check your orchid's roots now: if more than 30 percent are brown and mushy, deal with root rot before adding any fungal product. Trim dead roots, treat with dilute hydrogen peroxide (1 part 3% hydrogen peroxide to 3 parts water), and let the root system air-dry for 24 hours.
- Assess your media: if bark or sphagnum is compacted, broken down into fine particles, or staying wet for more than a week, replace it before repotting with inoculant. Old, decomposed media is where pathogenic fungi win.
- Choose your product: for established plants, a general endomycorrhizal product with Rhizophagus irregularis and Trichoderma is the practical and affordable choice. For seedlings or deflasked plants, hunt down an orchid-specific product with Tulasnella or Ceratobasidium strains.
- Apply at repotting: dust roots directly with inoculant powder or prepare a slurry dip, and mix inoculant into the fresh media before potting.
- Water with unchlorinated water for the first two waterings. After that, use your usual water source.
- Hold full-strength fertilizer for 4 weeks post-repotting. After that, resume with a balanced, low-phosphorus formula at half strength.
- Give it 8 weeks before evaluating results. Watch for new root tips and improved leaf firmness as early indicators.
- Check light, airflow, and watering rhythm. If improvement stalls, these are more likely culprits than the fungi.
- Source fresh products: check the CFU count and expiration date on any product you buy. Store opened inoculant in the refrigerator.
The broader world of how microorganisms help plants grow is genuinely fascinating, and orchids sit at one of the most extreme ends of that spectrum because of how deeply dependent they are on fungal partners from the very first moments of their life cycle. Bacteria can also support plant growth by making nutrients more available in the soil and helping defend roots against harmful microbes bacteria help plants grow. The good news is that you don't need to recreate a forest floor in your grow room. Choosing the right inoculant, applying it at the right time, and fixing any underlying care issues gives your orchid exactly the foundation it needs to work with the fungi rather than against them.
FAQ
Can I just sprinkle mushroom compost or garden soil to help an orchid, will it work like inoculant?
Yes, but only if the fungus can actually colonize the root zone. For most common orchids like Phalaenopsis and Dendrobium in bark mixes, you want an orchid-appropriate endomycorrhizal inoculant (often sold as Rhizophagus/Rhizophagus irregularis based products). If your growing setup is semi-hydroponic, your odds drop, because the substrate and constant wetness do not support stable colonization, and the article recommends switching to a Trichoderma-based biocontrol approach instead of mycorrhizae.
When is the best time to apply fungi to an orchid, and does it matter when during the year?
If the goal is root colonization, do it at repotting or bare-root stages. Applying to the pot surface after roots are enclosed in established media is usually ineffective because the inoculant rarely reaches the active root tips. A practical step is to apply at the moment you have exposed roots, then ensure the pot has good drainage so you are not simultaneously creating conditions that favor pathogens.
How can I tell if the fungi I see in the pot are helping or causing rot?
Mold alone is not proof that the inoculant is failing. Surface white fuzzy growth on bark or sphagnum is usually saprophytic and often harmless, while grey mold, black rot, and Fusarium-type problems indicate pathogens. The key decision rule is location: if mold is at the base of leaves, crowns, or root tips, remove it promptly and correct watering and airflow conditions, because those are the conditions pathogens exploit.
What should I check first if my orchid is not responding after applying an orchid fungal inoculant?
Do not keep adding more inoculant if the orchid is not improving after 6 to 8 weeks. Instead, troubleshoot the non-fungal basics first, especially watering rhythm, light intensity, temperature stability, and fertilizer chemistry. Overwatering in particular can create the same rot conditions regardless of whether you added fungi, so the inoculant becomes a distraction if the root zone stays consistently waterlogged.
If I already have a mycorrhizal product for vegetables or houseplants, can I use it on orchids?
Not all mycorrhizal fungi labeled for gardens will match orchids. Orchids typically rely on orchid mycorrhizae that are endomycorrhizal (root cell penetrating), and orchid specialists are Rhizoctonia-related genera like Tulasnella/Ceratobasidium/Sebacina. A vegetable garden inoculant based on AM fungi may still help established orchids, but it is a weaker fit for seed germination and early establishment compared with orchid-focused products.
What should I look for on the label so I know the inoculant is actually effective for orchids?
Measure the label. Products worth considering should list colony-forming units (CFUs) or a concrete spore count, ideally at least 200 spores per gram, and specify the relevant genus. Vague claims without CFU or spore information make it harder to know whether you delivered enough living fungal material for colonization.
Can I pair fungi with beneficial bacteria to help an orchid, or should I choose one?
In most cases, yes, you can add bacterial products to support nutrient availability and defense, but it should not replace fixing fungal requirements. Since orchid mycorrhizae provide specific phosphorus and micronutrient delivery and help shift the root zone toward resistance, combining inputs works best when you still use an orchid-appropriate mycorrhizal inoculant at repotting and avoid creating wet, stagnant conditions that favor pathogens.
Do mycorrhizal fungi work in semi-hydroponic orchid systems like LECA?
With semi-hydroponic setups, prioritize rot suppression rather than expecting mycorrhizae to establish. The article’s practical guidance is to use a Trichoderma-based biocontrol drench at very low rates in the reservoir water and refresh it at every water change, because the constant moisture and inorganic substrate make mycorrhizal colonization unreliable.
If my orchid already has root rot or damaged roots, should I apply fungal inoculant anyway?
They can help roots only if the plant can survive long enough for colonization to take effect. If a root system is already compromised, rot can occur with or without fungi due to the underlying care conditions, especially overwatering or poor drainage. A decision aid is to treat the root zone first (improve drainage, remove dead tissue, stabilize watering) and then apply inoculant at the next repot or after the plant stabilizes.
Next Articles
How Do Bacteria Help Plants Grow: Decomposers to Root Partners
Learn how soil bacteria decompose matter and boost root nutrient uptake, plus practical steps to improve plant health.
Does Pink Light Help Plants Grow? How to Choose LED Grow Bulbs
Learn if pink, red blue LEDs boost plant growth and how to choose the right spectrum, intensity, distance, and timing.

What Color Light Makes Plants Grow Faster? Complete Guide
Learn which light color speeds plant growth, why red, blue and full spectrum work, and how to set LED distance and timin