The four things that actually move the needle on plant growth in soil are organic matter, nutrients (N-P-K plus key micronutrients), pH, and drainage. If you fix those four things in the right order for your specific soil, most plants will respond fast. Once those basics are set, you can focus on what is good for plants to grow in your exact conditions and avoid guessing what's good for plants to grow. If you want faster growth, focus on matching the right nutrients and soil conditions to your plants’ needs rather than relying on any single liquid liquid fertilizers. If you skip the diagnosis and just dump fertilizer or coffee grounds on top, you can make things worse. Here is exactly what to add, in what order, and why it works. If you want the specific additions, this guide walks through exactly what to add to plants to help them grow, in the right order.
What Can I Add to Soil to Help Plants Grow?

What actually limits growth in most garden soils
Before you spend a dollar on amendments, you need to know what your soil is actually doing wrong. The most common culprits are compaction, low organic matter, pH that is out of range, and nutrient deficiency. These problems overlap and reinforce each other. Compacted soil shrinks the pore spaces roots need for oxygen, and when oxygen drops, roots slow down and can barely absorb water or nutrients even if those nutrients are right there. University research from Colorado State and Purdue confirms this directly: compaction increases bulk density, reduces porosity, and limits root penetration. Poor aeration also encourages denitrification, meaning you can lose soil nitrogen just from having packed-down soil in a wet season. So the very first thing to do is figure out what your soil is actually dealing with. Besides soil amendments, using water that drains well and doesn’t stay stagnant helps plants grow faster by keeping roots oxygenated.
A basic soil test is the most reliable starting point. NC State Extension puts it plainly: a soil test is the only reliable way to determine soil pH and make good fertilization decisions. A standard home-garden test from your state extension lab (usually $10 to $20) will give you pH, phosphorus, potassium, organic matter percentage, and often a blank" rel="noopener noreferrer">salinity reading. That report tells you what to add and, just as importantly, what not to add. Grab samples from the root zone across multiple spots in the bed, combine them, and send that mix in. Do this before you amend anything serious.
Fast wins: organic matter and structure amendments
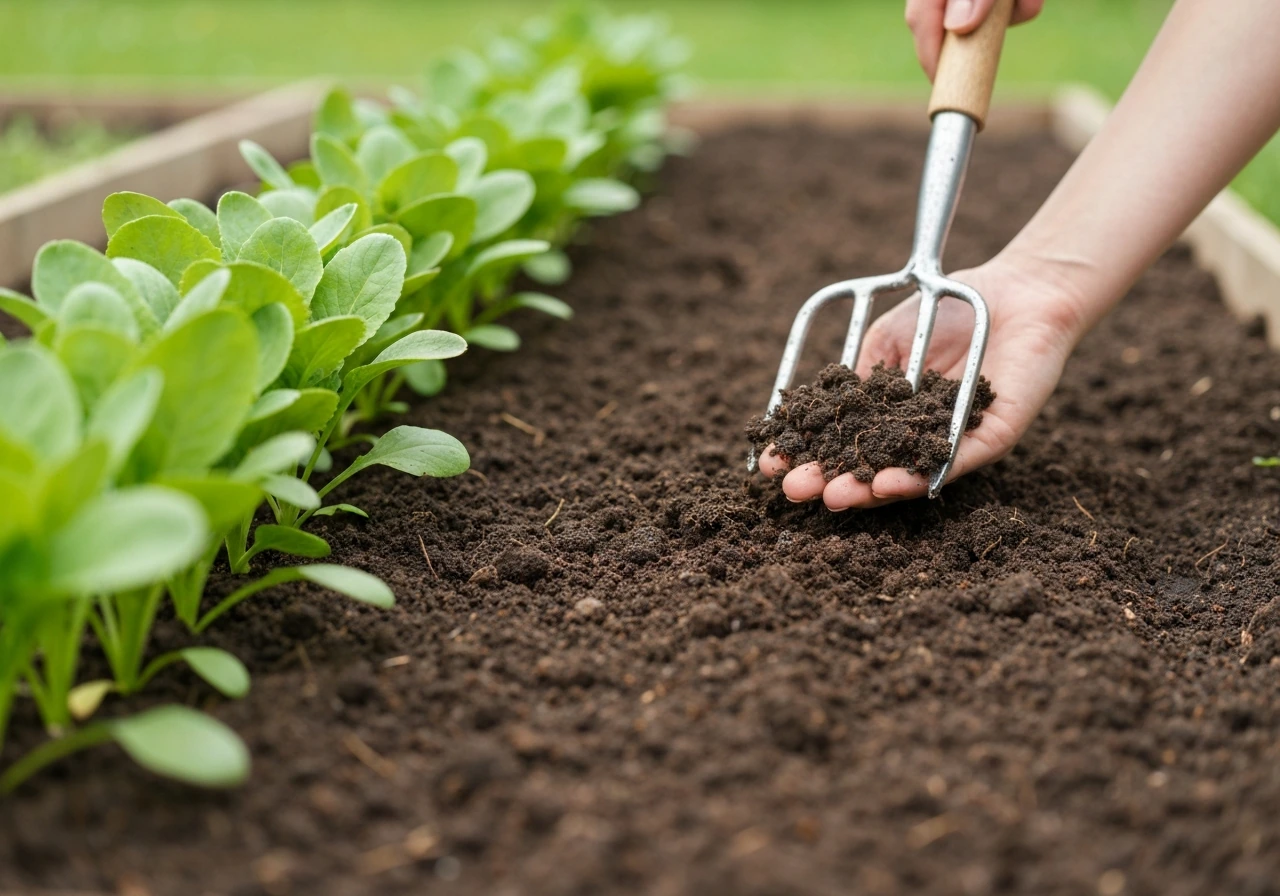
If I had to pick one thing that improves almost every soil type, it would be compost. Oregon State Extension research confirms that adding organic matter improves soil aeration, increases beneficial microbial activity, and improves water movement across sand, silt, and clay soils. Nebraska Extension explains why: organic matter improves aggregation, which opens up drainage pores in clay and increases water-holding capacity in sand. Two completely opposite soil problems, one solution.
For a new bed or a bed that has never been amended, work in 2 to 4 inches of finished compost and turn it into the top 8 to 12 inches of soil. Do not treat compost as a fertilizer, though. University of New Hampshire Extension is clear that compost is not a primary nutrient source. Its main job is improving the physical and biological environment so your roots can actually use the nutrients that are already there, or that you add separately. Think of it as building the plumbing, not stocking the pantry.
Aged manure works similarly and does carry more nutrient value than compost, but it comes with some rules. Incorporate it within three days of application to reduce nutrient loss and pathogen risk, and only use well-composted manure on vegetable beds to avoid transferring zoonotic pathogens to food crops. Raw manure is a risk not worth taking on edibles.
Worm castings (vermicompost) are another excellent addition. They are low in salts, rich in microbial life, and safe to apply directly around sensitive roots. CSU Extension recommends them as a top dressing or incorporated into a mix. They are more expensive per pound than bulk compost, so use them as a targeted boost around transplants or in containers rather than amending an entire bed.
Nutrients to add: what to use and how to avoid burning your plants
Once your soil structure is improving, nutrient supply is the next lever. Plants need nitrogen (N) for leafy growth, phosphorus (P) for roots and flowering, and potassium (K) for overall resilience. They also need secondary nutrients like calcium, magnesium, and sulfur, plus trace micronutrients. The key rule: add what your soil test shows is deficient, and hold off on everything else. Applying phosphorus to soil that already tests high does nothing for your plants and can lock out other nutrients.
Organic slow-release options
- Blood meal: fast-release nitrogen source, good for leafy vegetables and plants showing yellowing; apply carefully because it can burn at high rates
- Bone meal: slow-release phosphorus, breaks down over several months, useful when establishing new perennials or transplanting
- Fish emulsion: balanced mild fertilizer with trace micronutrients, fast-acting and low burn risk, good for foliar feeding or container plants
- Worm castings: gentle broad-spectrum nutrition with minimal salt content, safe for seedlings and sensitive roots
- Kelp meal: micronutrient and hormone source, supports root development and stress tolerance
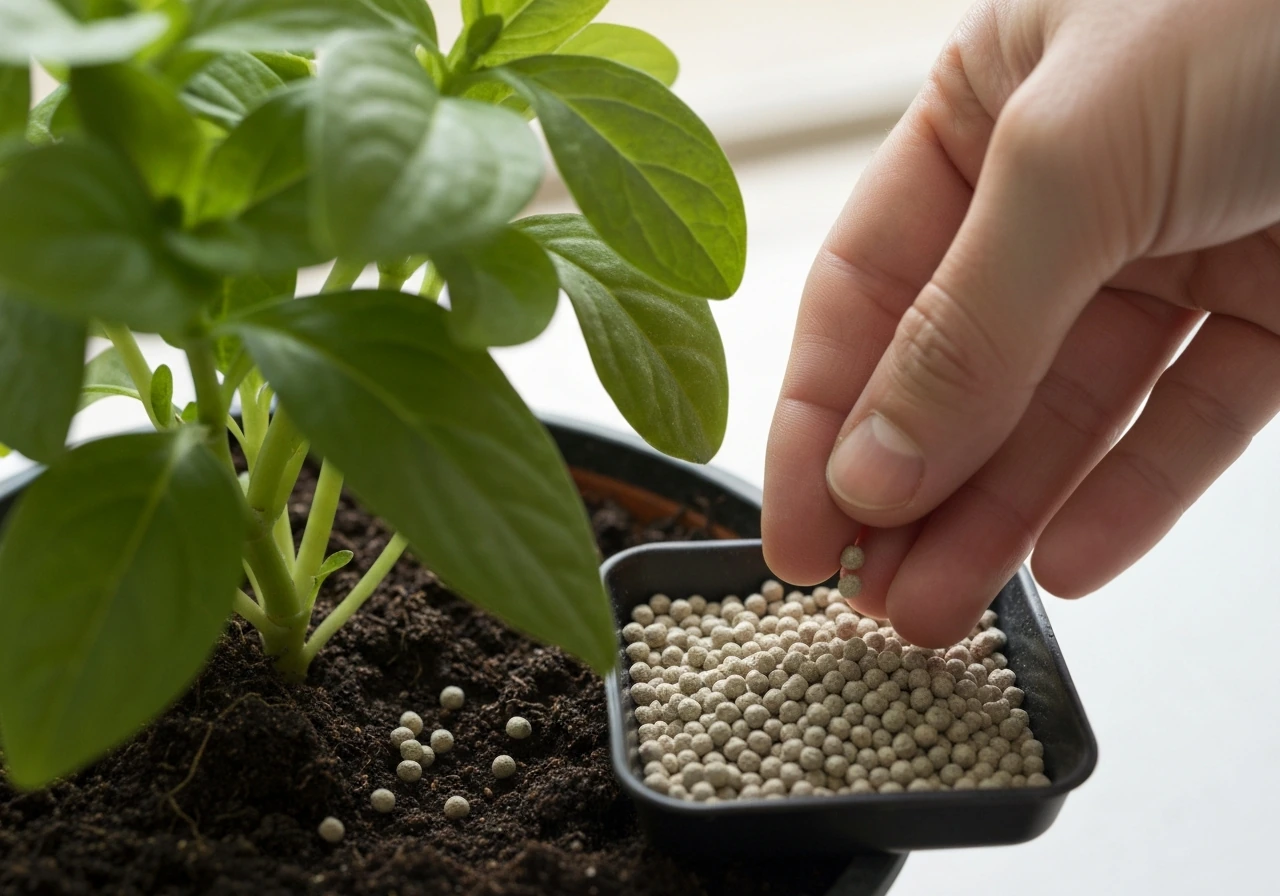
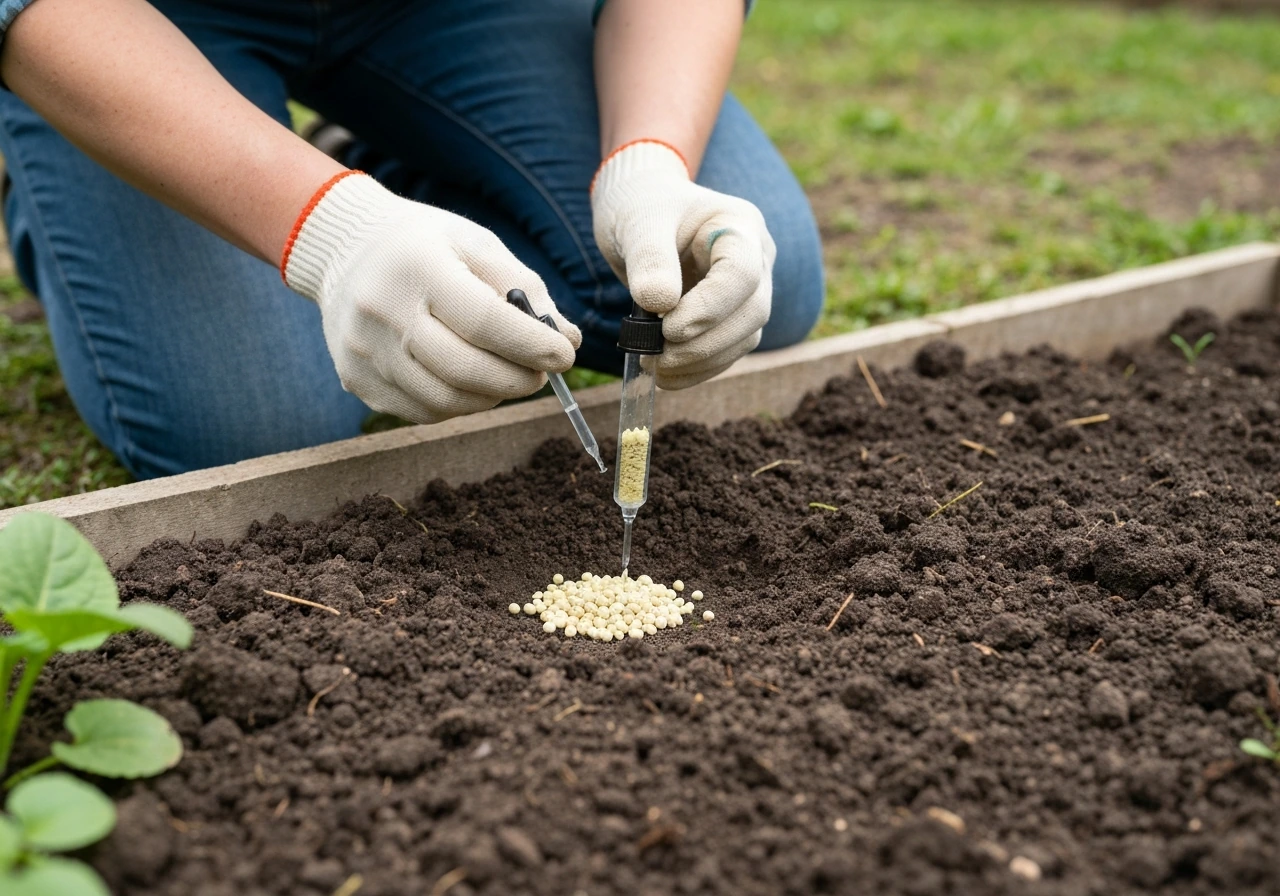
Synthetic and controlled-release options
A balanced granular fertilizer (something in the range of 10-10-10 or a product labeled for your specific crop type) applied at package rates gives you predictable results fast. Controlled-release coated fertilizers like Osmocote release nutrients over weeks or months based on soil temperature, which reduces the risk of burning and is especially practical for containers. Fertilizer burn happens when concentrated salts pull water out of root cells, causing osmotic injury. University of Minnesota Extension explains this is why you should never apply more than the label rate and why watering in dry fertilizer immediately is non-negotiable.
For most vegetable gardens, a soil-test-driven approach looks like this: apply a nitrogen source (compost or blood meal) because nitrogen depletes fastest, add phosphorus only if your test shows deficiency, and top up potassium based on test results. Avoid the scatter-shot approach of adding every amendment you read about. More is not better with nutrients.
Soil pH fixes: when to use lime or sulfur
pH is a multiplier. It controls whether the nutrients you add (or already have) are actually available to plant roots. University of Maryland Extension research shows that nutrient availability drops sharply when soil pH falls below 5.0 or rises above 7.0. At very low pH, aluminum becomes toxic to roots, which North Dakota State University Extension ties directly to root damage at pH below 5. Most vegetables and flowers want pH between 6.0 and 7.0. Blueberries, azaleas, and rhododendrons want 4.5 to 5.5. Knowing your target range is step one.
Raising pH: lime for acidic soils
If your test shows pH below your target, ground limestone is the standard fix. Calcitic lime raises pH and adds calcium. Dolomitic lime raises pH and adds both calcium and magnesium. Your state extension lab report will usually recommend a specific rate in pounds per 100 square feet based on your soil's buffer pH. Do not just apply a generic amount. University of Delaware Extension notes it typically takes several months for lime to fully change soil pH, so apply it in fall for spring planting when possible. Work it into the top several inches rather than leaving it on the surface.
Lowering pH: sulfur for alkaline soils
Elemental sulfur is the go-to for dropping pH in alkaline soils. It works by oxidizing in the soil with help from microbes, producing sulfuric acid. West Virginia University Extension is honest about the timeline: sulfur oxidation can take close to a year to fully lower soil pH. University of Florida's IFAS guidance suggests leaving about a month between sulfur treatments before testing again. This is not a quick fix. Apply sulfur well ahead of planting, test again after a few months, and repeat in small increments rather than dumping a large amount at once. Acidifying fertilizers like ammonium sulfate can help maintain lower pH over time for acid-loving plants.
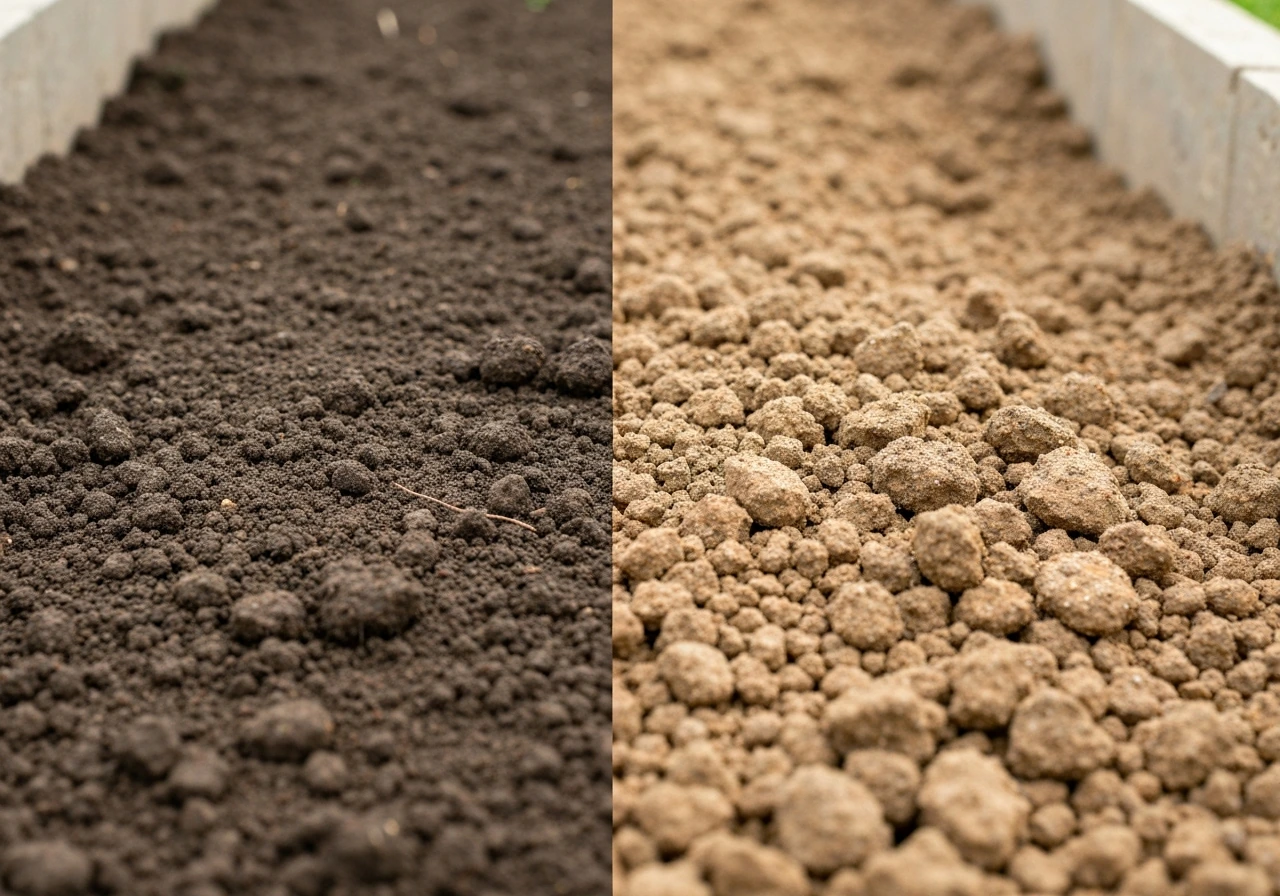
How to choose amendments for your soil type
Your soil texture changes how you approach amendments. Clay soil and sandy soil have opposite problems and need amendments applied differently, even if the base materials (compost, organic matter) are the same.
| Soil Type | Main Problem | Best Amendments | What to Avoid |
|---|---|---|---|
| Clay | Poor drainage, compaction, low aeration | Compost (2–4 inches worked in), aged manure, gypsum for sodium-heavy clay | Adding sand alone (creates concrete-like mix without enough organic matter) |
| Sandy | Drains too fast, low water/nutrient holding | Compost, biochar, worm castings | Over-fertilizing (nutrients leach quickly; apply in smaller, more frequent doses) |
| Silty loam | Usually good but can crust and compact | Light compost topdress, cover crops | Heavy tillage that destroys structure |
| Poor/depleted fill soil | Low organic matter, possible compaction or salinity | Large initial compost application (4–6 inches), soil test to check salinity, targeted fertilizer | Anything before testing (could have high salts or pH extremes) |
A common mistake with clay soil is adding a thin layer of sand, thinking it will improve drainage. Without enough organic matter to bind everything together, mixing a little sand into clay actually produces a denser, harder material. If you are going that route, you need a huge amount of coarse sand (think 50 percent or more of total volume) plus plenty of compost. In practice, compost alone is the easier and more effective path for most home gardeners with clay.
Container vs. in-ground: the soil addition strategy changes
Containers and in-ground beds are fundamentally different environments. In-ground roots can explore a wide area to find water and nutrients. Containerized roots are stuck in a fixed volume and depend entirely on what you put in the pot. University of Maryland Extension notes that container roots cannot mine nutrients and water the way in-ground plants can, and that air and water balance in the mix is essential.
What to add to container mix
- Start with a quality commercial potting mix, not garden soil (garden soil compacts in containers and kills drainage)
- Add 20 to 30 percent perlite if you need better drainage, or coir if you need more moisture retention
- Mix in a controlled-release fertilizer at planting so nutrients are available for months
- Top dress with worm castings every few weeks for a gentle nutrient boost
- Flush containers periodically with water to prevent salt buildup from fertilizers and tap water
Watering practice matters as much as what you add in containers. Water choice also matters, and using clean water with the right mineral balance can help plants grow more reliably. OSU Extension advises watering thoroughly until water runs out the bottom, then waiting until the top 1 to 2 inches dry out before watering again. This flushing action prevents soluble salt accumulation, which can burn roots and block nutrient uptake. If you are also curious about what to add to your watering routine (like liquid fertilizers or diluted fish emulsion), those strategies for liquids and water additives are a different but related topic worth exploring on their own. If you want to use what liquids help plants grow best, look at liquid fertilizers like diluted fish emulsion and apply them based on your soil test and plant stage.
In-ground strategies: seasonal timing
For in-ground beds, think in two modes: full amendments before planting (working compost and any pH corrections into the top 8 to 12 inches) and seasonal maintenance (top dressing with compost each fall or spring, applying fertilizer during the growing season as needed). You do not need to dig everything in every year. An inch of compost top dressed in fall and left for earthworms to incorporate is extremely effective over time and far less disruptive to soil biology.
What not to add: common myths and folk amendments
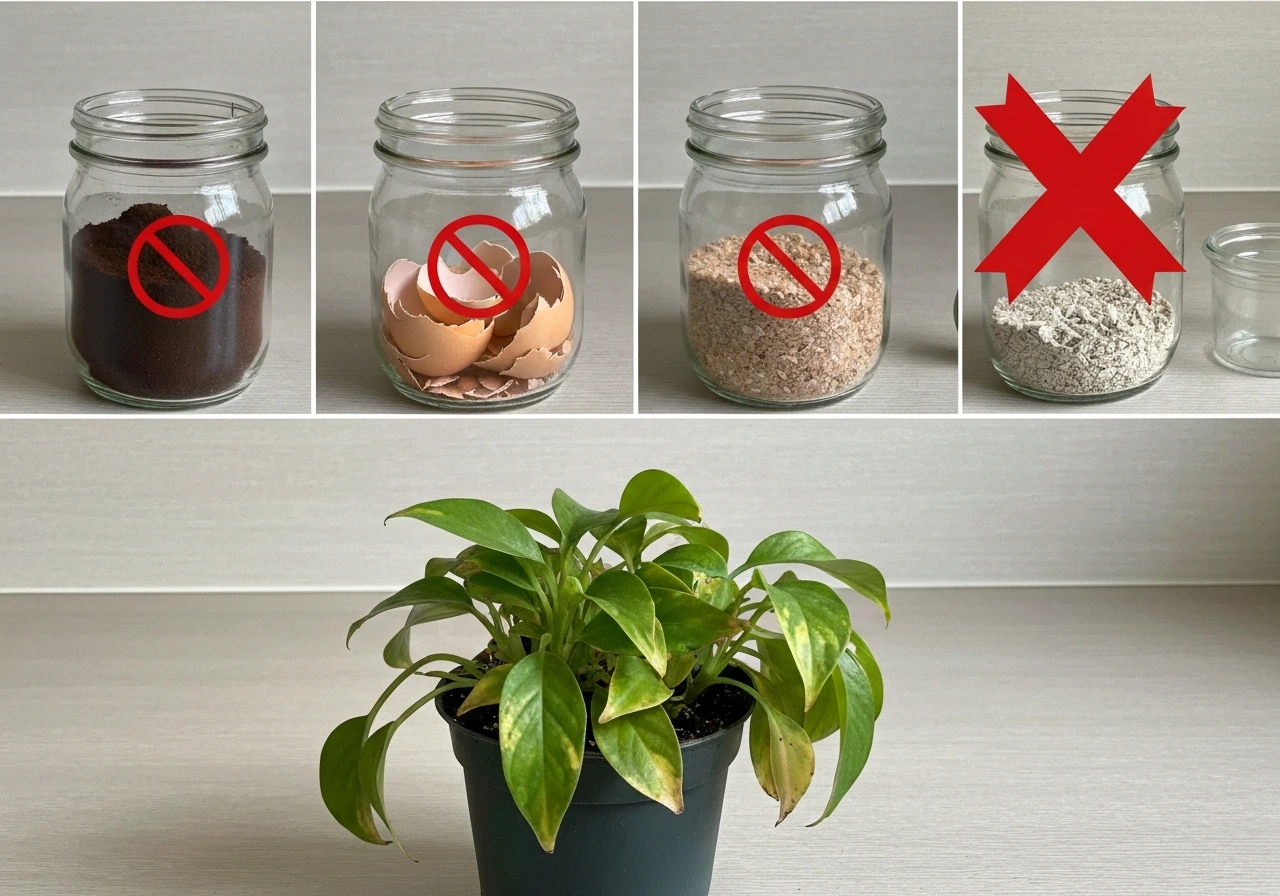
This is where I want to save you some time and probably some money. There are a handful of things people add to soil that either do nothing, do unpredictable things, or actively cause problems.
Coffee grounds
Coffee grounds are not a reliable soil amendment on their own. Nebraska Extension research shows that fresh grounds worked directly into soil can tie up nitrogen as microbes break them down, potentially causing a short-term nitrogen deficiency. They can also mat and repel water if applied in thick layers. The better approach is composting them first, which neutralizes these issues. Grounds that have been through a compost pile are a fine addition. Straight-from-the-pot grounds dumped on your beds? Not worth it.
Eggshells
Eggshells do contain calcium, but they break down extremely slowly in soil unless ground into fine powder. Whole or coarsely crushed shells sitting in your garden for years are not doing anything useful. If your soil test shows calcium deficiency (rare in most soils), calcitic lime is a far more reliable and faster-acting source.
Wood ash
Wood ash does raise soil pH similarly to lime, and it contains some potassium and calcium. But the dose is very hard to control, and applying large amounts can swing pH too high or introduce excess salts. University of Vermont and Nebraska Extension both warn against relying on ash alone to manage soil pH, and specifically caution against using it near acid-loving plants like blueberries, azaleas, rhododendrons, and citrus. Nebraska Extension guidance notes that wood ash can increase soil pH, but recommends using sparingly because soil reaction and composition vary and large amounts can be harmful dose is very hard to control. If you use wood ash, apply it sparingly and test your soil before and after.
Compost tea
WSU Extension researcher Linda Chalker-Scott has reviewed the literature on aerated compost tea and found no scientifically documented evidence that it acts as a pathogen suppressor or provides meaningful soil benefits that compost itself does not. There is also a risk of cultivating harmful bacteria if the tea is not made properly. If you have finished compost, apply the compost directly. The tea is an extra step with extra risk and no proven payoff.
Rock phosphate
Rock phosphate is often marketed as a natural phosphorus source, but Washington State guidance notes it is largely unavailable to plant roots and can take years to release. Bone meal, by comparison, breaks down over several months and actually delivers phosphorus in a usable timeframe. If you need to add phosphorus, bone meal or a standard phosphate fertilizer is a far better choice.
Your action plan: test, amend, and monitor
Here is the practical sequence I follow and recommend, whether you are starting a new bed or troubleshooting an existing one.
- Test your soil first. Send a sample to your state extension lab. Collect from multiple spots across the bed, mix them together, and send from the root zone depth (4 to 6 inches for most gardens). This gives you pH, nutrients, organic matter, and salinity. Without this, you are guessing.
- Fix pH before adding nutrients. If pH is off, nutrients you add will not be available anyway. Apply lime to raise pH or elemental sulfur to lower it based on your test results. Work amendments into the top 8 to 12 inches. Lime takes several months to act; sulfur can take close to a year.
- Add compost to improve structure. Work in 2 to 4 inches of finished compost regardless of soil type. This step improves drainage, aeration, water retention, and microbial life simultaneously. It is the foundation everything else builds on.
- Add targeted nutrients based on what your test shows is deficient. Use blood meal for nitrogen, bone meal for phosphorus, greensand or potassium sulfate for potassium. Apply at label rates and water in thoroughly. Do not add nutrients your test shows as already adequate.
- Plant and monitor. Watch your plants for signs of deficiency (yellowing, purple tints on leaves, stunted growth) or toxicity (leaf burn, excessive salt crust on soil surface). Take notes on what you added and when.
- Retest every 2 to 3 years for sandy soils or every 3 to 4 years for clay soils, as NC Department of Agriculture recommends. Adjust your amendment routine based on results rather than habit.
The gardeners who get consistent results are not the ones who spend the most on amendments. They are the ones who test first, address structure and pH before nutrient loading, and resist the urge to add things just because they heard it works. Your soil test report is worth more than any bag of mystery amendment at the garden center. Once you know your soil results, you can choose exactly what to put in plants and in the soil to make them grow faster soil test. Start there, follow the data, and you will spend less money and grow better plants.
FAQ
How much compost should I add, and how do I know if I’m adding too much?
Use a finished compost amount that matches your soil and your goals, not a fixed “more is better” rule. If you are building structure, aim for a steady top-dress (for example, about 1 inch per season) or the initial 2 to 4 inches worked in before planting. Stop and re-test if you repeatedly see salt buildup signs (crusting, slow germination, yellowing).
Is granular fertilizer safe to use even for seedlings and young plants?
Granular fertilizers are usually safe, but “safe” depends on whether the product rate and placement are correct. Keep fertilizer off plant stems and avoid banding directly against seedlings. In containers, use fresh, tested potting mix plus a controlled-release product or soil-test-guided feeding, because nutrient concentration can rise faster in a small volume than in-ground beds.
What should I do if my soil test shows high phosphorus?
If your soil test already shows phosphorus is high, avoid adding more phosphorus. In some soils, extra P can contribute to nutrient imbalances and reduced uptake of other nutrients. A good next step is to prioritize nitrogen and potassium (based on test results) and improve pH first, since availability changes more dramatically with pH than with small nutrient additions.
Can I rely on liquid fertilizer to fix a soil problem?
Yes, but only after correcting structure and pH, then matching nutrients to the test. Quick liquid feeding can help short-term growth, yet it can also mask the real bottleneck (compact soil, poor drainage, wrong pH). A practical approach is: loosen or amend compost first, verify pH, then do light, test-guided liquid feedings in the active growing period.
Can I just add coffee grounds directly to soil to boost growth?
Don’t assume coffee grounds act like fertilizer. Fresh grounds can temporarily tie up nitrogen as they break down, and thick layers can repel water. If you want to use them, compost them first, then treat the resulting compost as part of your organic matter plan rather than a direct nitrogen source.
How soon should I retest my soil after adding lime or sulfur?
If pH is wrong, re-checking too soon after adding limestone or sulfur wastes money and can lead to overcorrection. Limestone often takes months to fully shift pH, and sulfur can take up to close to a year. Plan to retest after the recommended waiting period for the amendment you used, and sample the same area consistently.
When should I apply phosphorus versus nitrogen and potassium?
Use phosphorus timing based on crop needs and your soil test. If phosphorus is deficient, incorporate the amendment before planting (or during soil prep) because it becomes available over time. For nitrogen and potassium, you can usually split applications during the season rather than adding it all at once to reduce losses and salt stress.
What’s the best amendment strategy for clay soil that stays wet?
For clay, a thin sand layer is usually counterproductive unless you also add substantial compost and mix thoroughly, and even then it is often more disruptive than necessary. The most reliable path is improving aggregation with compost and maintaining good drainage. If drainage remains poor after composting, consider aeration or addressing compaction mechanically before adding more amendments.
Do container plants need different soil amendments or feeding schedules than garden beds?
In containers, you typically need more frequent feeding than in-ground beds because nutrients are limited in a small mix. Use soil-test guidance if you can, or follow the label rate carefully and refresh the mix periodically. Also flush the pot occasionally (water thoroughly until it drains out) to prevent salt buildup and nutrient lockout.
If I choose a “natural” fertilizer, how do I avoid using the wrong one for my soil test?
Yes, but focus on safety and effectiveness. For bone meal or other phosphate sources, check whether the product is appropriate for your crop and your soil test, and avoid mixing multiple phosphorus products blindly. If you need to correct pH for nutrient availability, do that first, since good nutrients won’t work reliably at an out-of-range pH.

Find safe liquids that speed plant growth, which myths fail, and how to test watering and nutrients at home.
Add the right nutrients and adjust water pH, chlorine, hardness, and temperature for healthier plant growth with safe st

Learn what to add to plants, from compost and fertilizer to mulch and pH fixes, with safe timing and dosing.