Early farmers helped their crops grow by doing the same things that actually work today: improving soil fertility, managing water carefully, choosing the right planting times and locations, controlling weeds and pests, and rotating crops to keep the land productive year after year. There was no magic involved. The practices that survived and spread across cultures were the ones that produced reliably better harvests, and they all trace back to controllable factors like soil health, moisture, sunlight, and plant competition.
What Did Early Farmers Do to Help Their Crops Grow
Marcus Holloway
5 Jun 2026
What early farmers were actually doing (the big picture)
Across different cultures and continents, early farmers independently converged on a set of core practices. That convergence is the tell: when people in ancient Mesopotamia, the Andes, Egypt, and pre-Columbian Arizona all arrived at similar solutions without knowing each other existed, it's strong evidence those solutions genuinely worked. The categories look like this:
- Soil preparation and fertility building: loosening compacted ground, adding organic matter like manure and compost, and managing nutrient availability
- Water management: directing water to crops through irrigation canals, timing watering to plant needs, and preventing both drought stress and waterlogging
- Light, timing, and site selection: planting in sync with local seasons, choosing sunny well-drained spots, and spacing plants to reduce shade competition
- In-season crop care: pulling weeds, thinning crowded seedlings, and protecting plants from insects, disease, and animals
- Long-term land management: saving the best seeds, rotating crops between fields, and resting land periodically to restore its productivity
None of these involve folk charms, ritual chanting, or mysterious ceremonies. The practices that genuinely moved the needle were all practical interventions in soil chemistry, plant biology, and water physics. That's worth saying directly, because it tells you exactly where to focus your energy as a modern gardener.
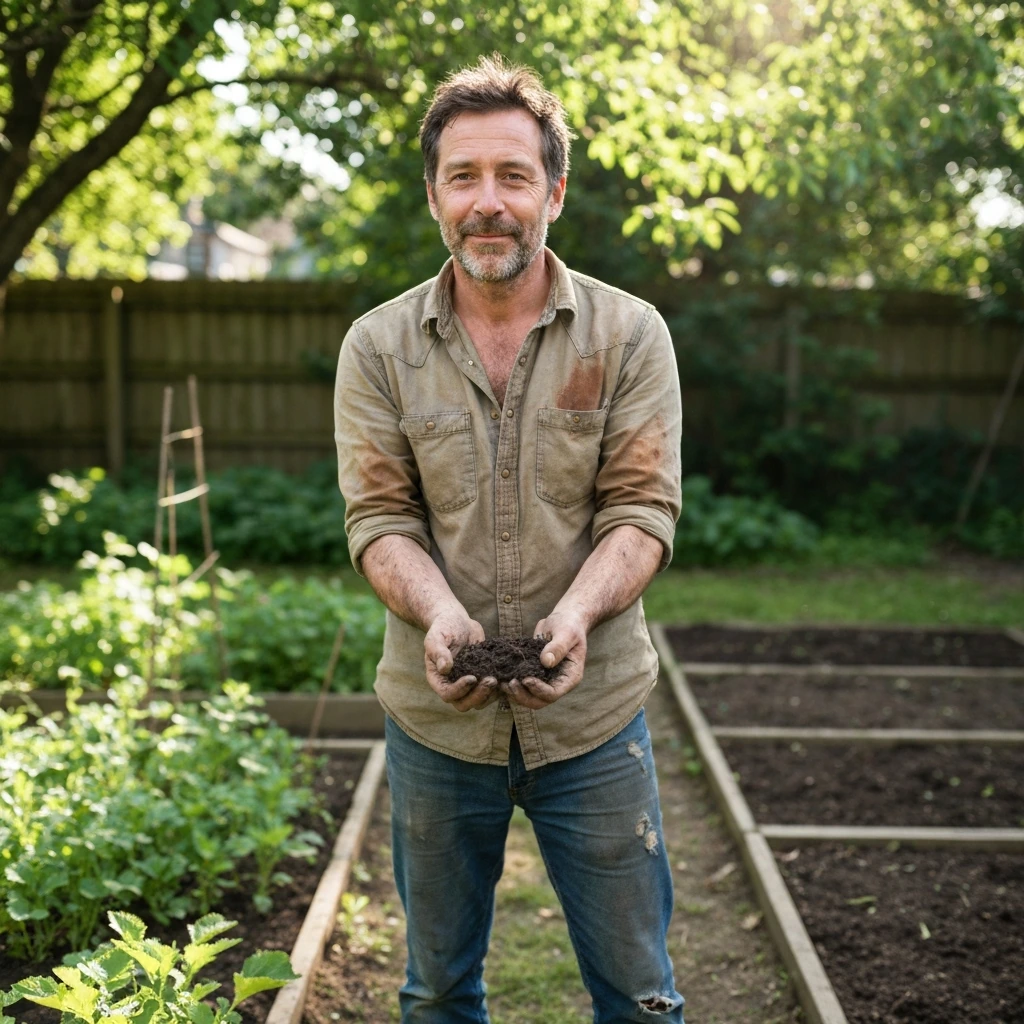
How they built and maintained healthy soil
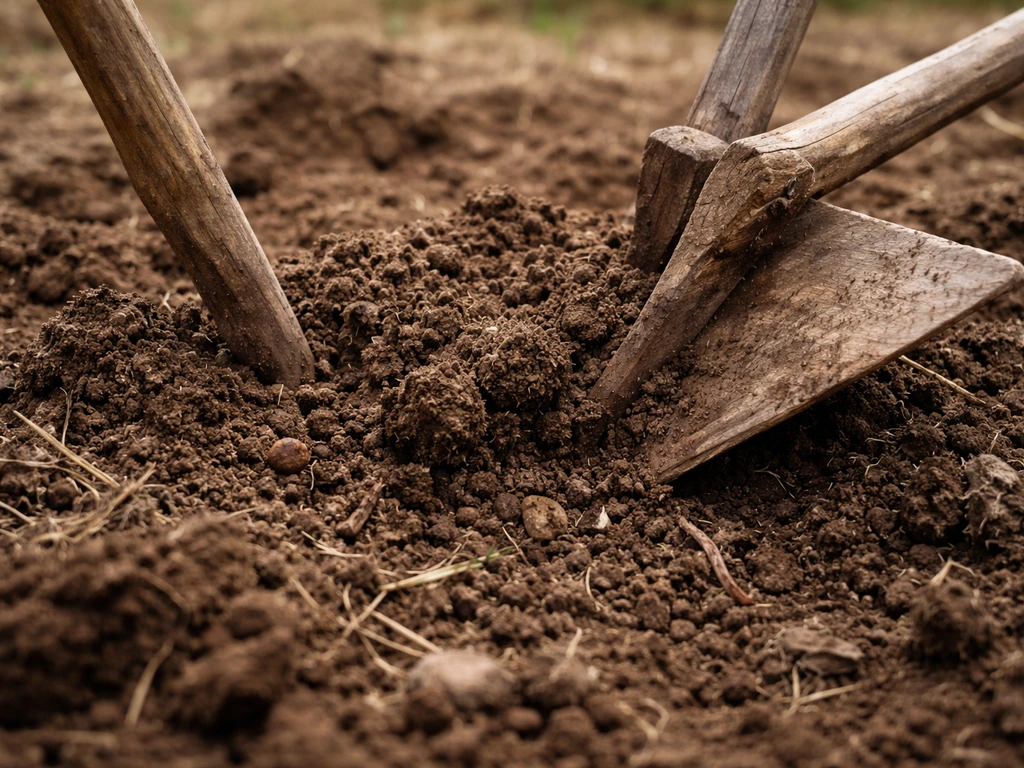
Soil preparation was the foundation of early agriculture, and it wasn't sophisticated in a chemical sense but it was highly effective. Early farmers learned quickly that loose, organic-rich soil produced far better yields than hard, depleted ground. The core practices they used:
- Tillage: breaking up compacted soil with digging sticks, ards (primitive plows), and later animal-drawn plows. Loosening soil improves root penetration, drainage, and aeration, all of which directly boost plant growth
- Manure and animal waste: this was arguably the single most powerful fertility tool early farmers had. Animal dung adds nitrogen, phosphorus, and potassium plus organic matter that feeds soil microbes
- Composted plant material: crop residues, kitchen scraps, and decaying vegetation were worked back into fields, returning nutrients to the soil and improving its structure
- Mulching: covering bare soil around crops with straw, leaves, or other organic material reduced moisture loss, suppressed weeds, and slowly decomposed into nutrients
- Flooding and silt deposition: farmers along the Nile and similar river systems actively used annual flood cycles to deposit mineral-rich silt onto fields, essentially receiving a free fertilizer application every year
The reason these methods work is straightforward plant biology. Plants need nitrogen to build proteins and chlorophyll, phosphorus for root development and energy transfer, and potassium for water regulation and disease resistance. Organic matter also feeds the microbial life in soil, and those microbes break down nutrients into forms plant roots can actually absorb. Early farmers didn't know the chemistry, but they observed the results and kept doing what worked.
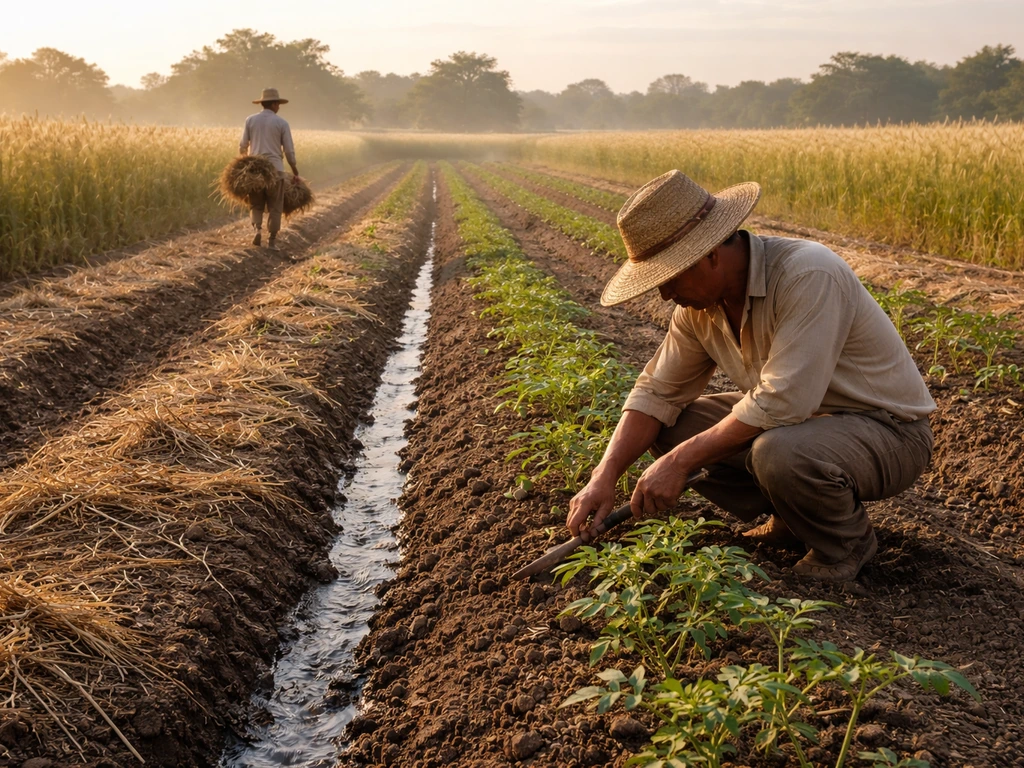
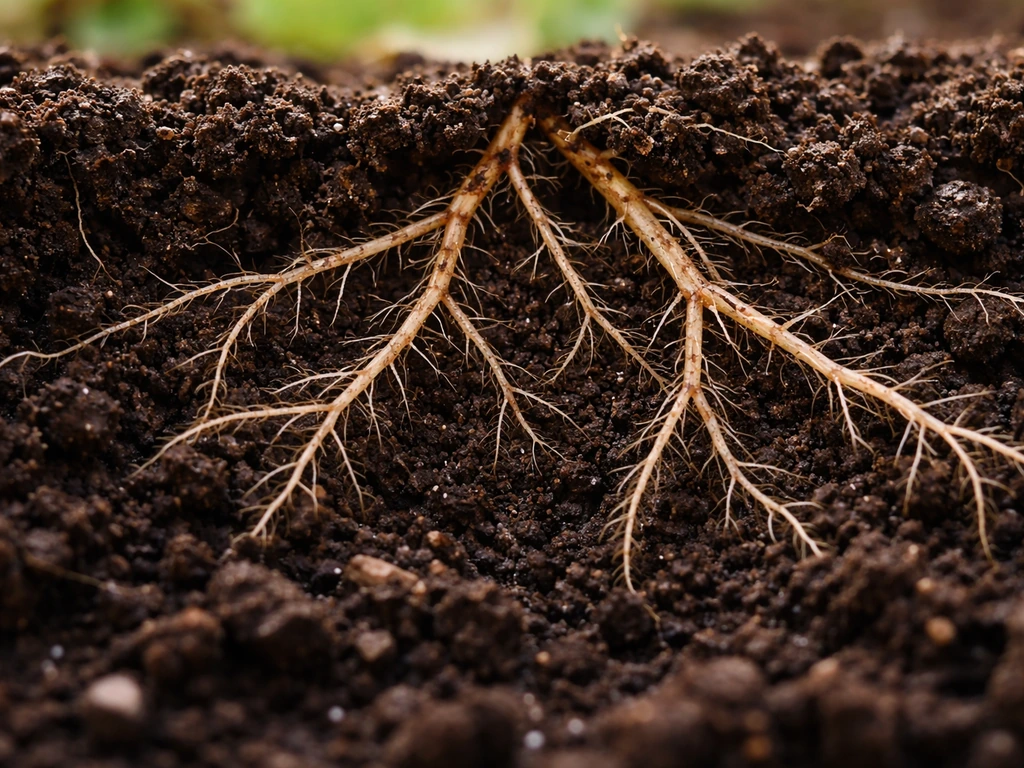
Irrigation and water management across early civilizations
One of the most impressive things early farmers achieved was moving water to where crops needed it. The scale and ingenuity here is genuinely remarkable. Small gravity-fed irrigation canals in the Zaña Valley in northern Peru have been dated to roughly 5,400 years ago, and possibly as far back as 6,700 years, associated with farming on low terrace benches. A canal system near Tucson, Arizona dates to approximately 1200 to 800 B.C. and supported agricultural fields covering an estimated 60 to 100 acres. In ancient Egypt, farmers had to actively harness the Nile's water through irrigation canals and drainage ditches, with methods varying considerably between the Delta region and Upper Egypt depending on local conditions.
The underlying principle of all these systems is simple but crucial: plants need consistent moisture at the root zone, and they need it timed to their growth stages. Inconsistent watering causes stress that slows growth, reduces yield, and opens plants up to disease. Early farmers figured this out empirically. They built channels to deliver water when rainfall was insufficient, dug drainage ditches where the land was waterlogged, and timed irrigation to match their crops' visible stress signals. Traditional systems in places like Egypt's Dakhla Oasis emphasized water conservation and soil preservation precisely because water was the limiting resource.
What they were achieving, without the scientific vocabulary, was maintaining adequate soil moisture in the root zone during critical growth windows: germination, flowering, and fruit set. These are the moments when water stress causes the most lasting damage to yield.
Getting the light and timing right
Early farmers were careful observers of seasons and growing conditions because their survival depended on it. Site selection and planting timing were not guesswork. What farmers sow to make plants grow is essentially the same practical set of choices: good seed from the best plants, planted at the right time and spacing so young plants get enough light, water, and nutrients. They planted in locations that received sufficient direct sunlight, chose south-facing slopes (in the northern hemisphere) for warmth, and developed detailed seasonal calendars to know when to plant each crop. The Egyptian agricultural calendar, for instance, was built around the Nile flood cycle and divided into three seasons that dictated exactly when different crops went in.
Plant spacing was another key variable. Crowded plants compete for light, water, and nutrients. Early farmers learned through direct observation that planting too densely reduced yields per plant, even if it seemed like more plants should mean more food. Matching the right crop to the right microclimate was equally important. Crops that needed warmth went into fields with good sun exposure and wind protection. Crops tolerant of shade or moisture were placed in lower, wetter spots.
The science behind this is photosynthesis. Plants convert light energy into sugars, and the amount of light a plant receives directly caps its growth rate and productivity. Plants convert light energy into sugars, and when the crop has the right environment, its growth rate can increase until other limits take over. Site selection, orientation, and spacing are all about maximizing the light each individual plant captures. Early farmers weren't thinking in terms of photosynthesis, but they were optimizing for the same outcome.
In-season crop care: weeds, spacing, pests, and disease
Once crops were in the ground, the work was far from over. Applying what they learned is a big part of answering what helps corn grow, especially water, spacing, and weed control Once crops were in the ground. Early farmers were active managers throughout the growing season, and the practices they used map directly onto what modern horticultural science recommends. Do spore blossoms help crops grow, and the evidence is mixed, but healthier soil biology often supports better plant growth map directly onto what modern horticultural science recommends.
Weeding
Weeding was probably the most labor-intensive ongoing task in early agriculture, and it mattered enormously. Weeds compete with crops for water, nutrients, and light. In a dense field, uncontrolled weed growth can reduce yields by 30 to 50 percent or more. Early farmers used hand pulling, hoeing tools, and in some cases managed grazing animals to control weed pressure. The basic rule they discovered: keep the area around your crops clear, especially during the first several weeks when seedlings are most vulnerable.
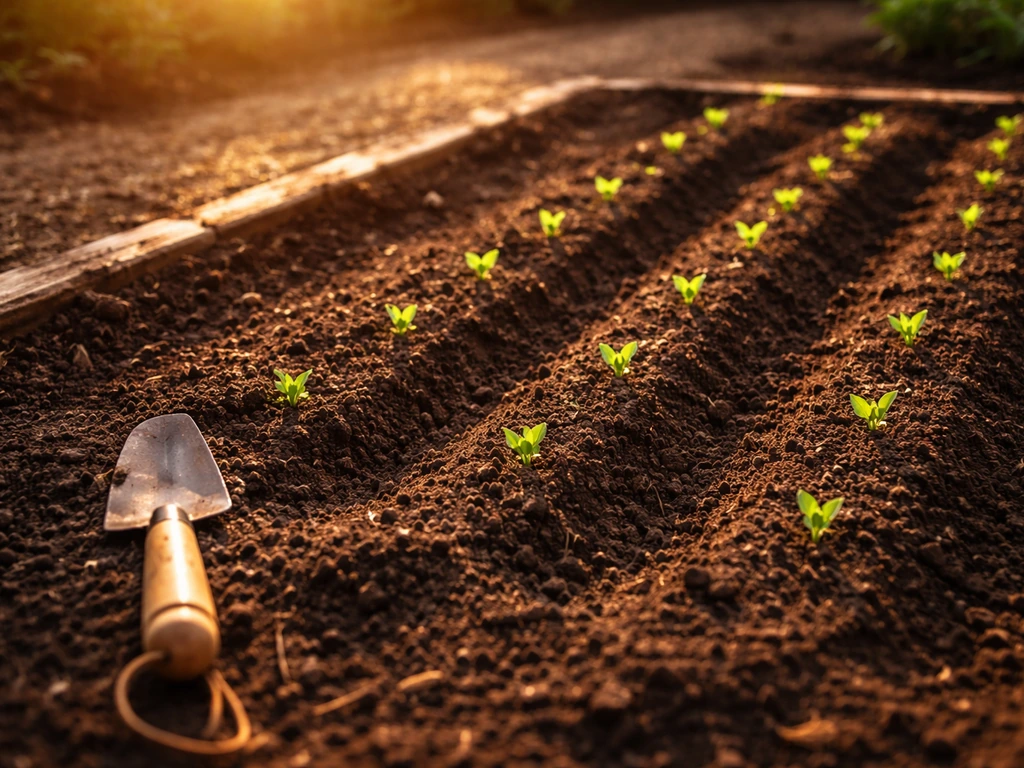
Thinning and spacing
Thinning seedlings was counterintuitive but essential. Removing some plants so the remaining ones had adequate space meant each surviving plant could develop a stronger root system, access more nutrients, and produce more yield per plant. Early farmers noticed that crowded plants produced smaller, weaker crops. They learned to sacrifice quantity of plants for quality of individual specimens.
Pest and disease control
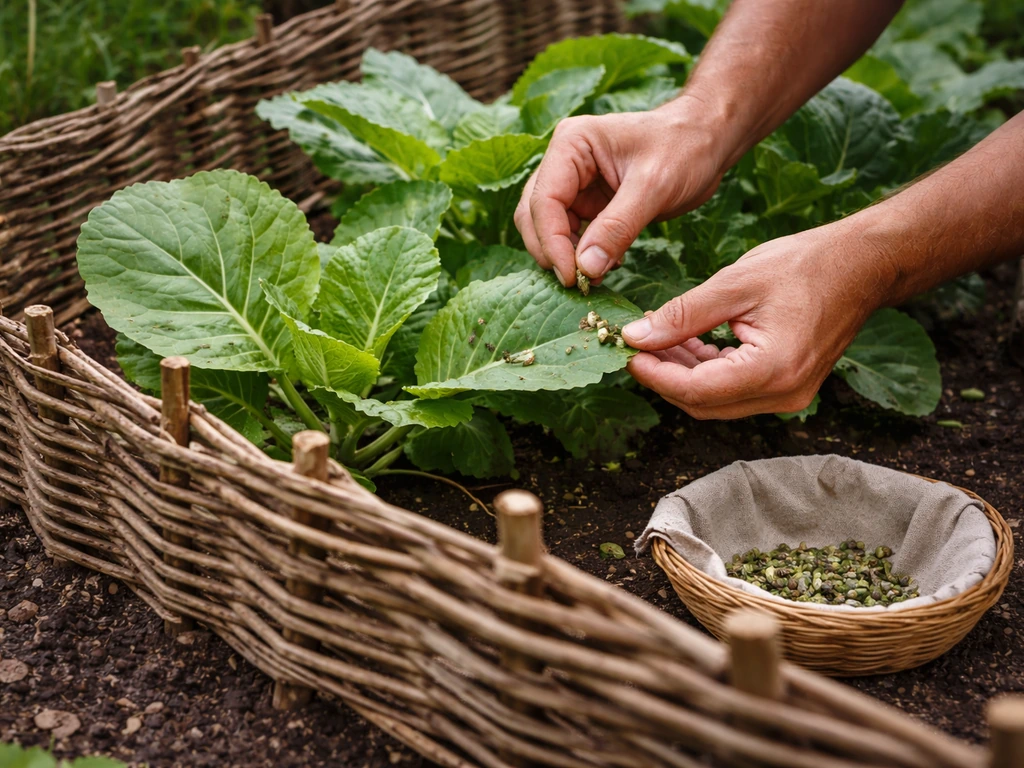
Early farmers had limited tools for pest management but used what they had: hand removal of insects and larvae, physical barriers like woven fences, crop diversity to limit the spread of any single pest or disease, and companion planting (growing certain plants together that seemed to repel insects or improve growth). Some of these companion planting combinations, like the Three Sisters planting of corn, beans, and squash used by Indigenous North American farmers, had real functional benefits: the beans fixed nitrogen, the squash leaves shaded the ground to retain moisture and suppress weeds, and the corn provided a trellis for the beans.
Seed saving and crop rotation for the long game
Early farmers understood something that modern gardeners sometimes forget: what you do this season affects what's possible next season. Two practices stand out as genuinely transformative over the long run.
Seed saving
Early farmers didn't just save random seeds. They saved seeds from their best-performing plants: the ones that produced the most, ripened earliest, survived disease, or tasted best. Over generations, this selective pressure gradually shaped crops toward traits that worked well in their specific local conditions. It was slow-motion plant breeding, and it produced the regionally adapted crop varieties that became the foundation of global agriculture. The practical lesson here is still valid today: if you grow open-pollinated or heirloom varieties, saving seed from your strongest, healthiest plants each year continuously improves the fit between your seeds and your specific garden.
Crop rotation and fallowing
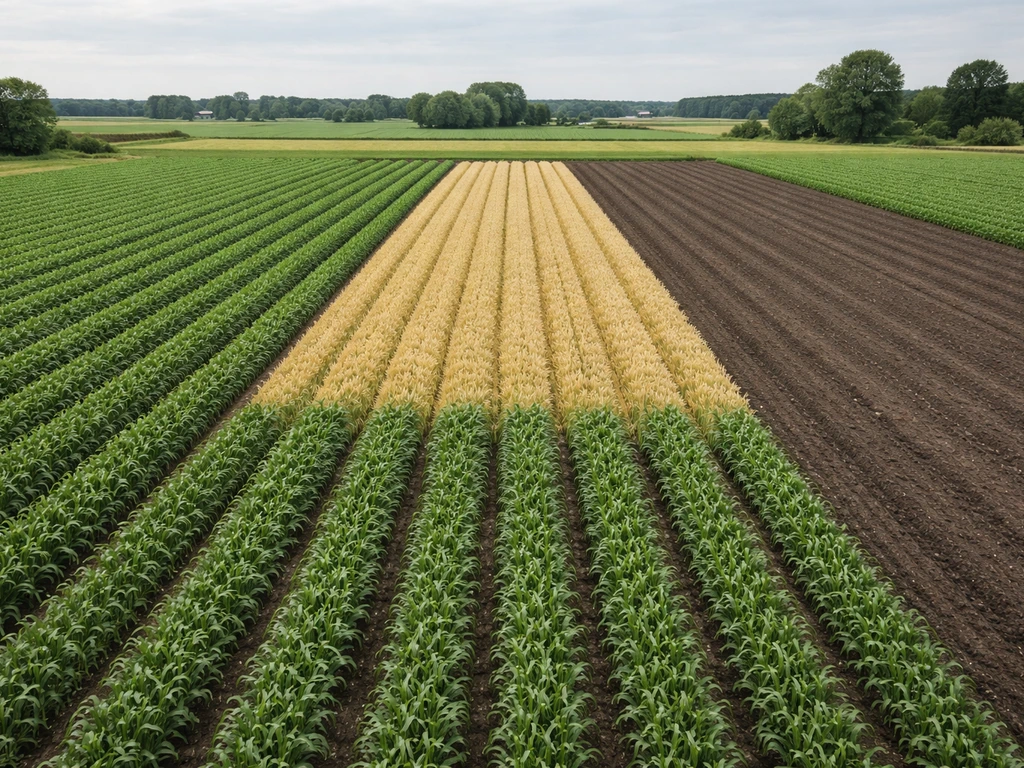
Growing the same crop in the same place year after year depletes specific nutrients and allows pest and disease populations that target that crop to build up in the soil. Early farmers noticed that fields rested for a season (fallowing) or planted with a different type of crop recovered their productivity. Rotating between heavy feeders like corn or wheat, nitrogen-fixing legumes like beans or peas, and root crops like turnips or carrots interrupts pest cycles and balances nutrient demand across different soil layers. This isn't folklore. It's supported by considerable modern research, and it's one of the most effective long-term tools any gardener or farmer has.
What actually works today: the modern version of every ancient principle
The techniques early farmers used weren't magical, and they weren't random. They were practical responses to real plant biology, and that biology hasn't changed. Here's how the ancient principles translate directly into what you can do right now in your garden.
| Early Farmer Practice | Modern Equivalent | Why It Works |
|---|---|---|
| Adding manure and compost to fields | Compost, aged manure, or balanced organic fertilizer worked into soil before planting | Supplies nitrogen, phosphorus, potassium, and feeds soil microbes that unlock additional nutrients |
| Loosening compacted soil with digging tools | Broadfork, garden fork, or no-till methods with heavy compost topdressing | Improves root penetration, drainage, and soil oxygen levels |
| Irrigation canals timed to crop needs | Drip irrigation or soaker hoses on a timer, watering deeply and infrequently | Delivers consistent root-zone moisture without wetting foliage, reducing disease risk |
| Choosing sunny, well-drained planting sites | Site assessment: minimum 6 to 8 hours of direct sun for most vegetables, raised beds for drainage | Maximizes photosynthesis and prevents root rot |
| Mulching around crops | 3 to 4 inches of straw, wood chip, or shredded leaf mulch around plants | Reduces water loss by up to 50 percent, suppresses weeds, moderates soil temperature |
| Hand weeding and hoeing | Weekly weeding, especially in the first 4 to 6 weeks after planting | Eliminates competition for water, light, and nutrients during the most critical growth window |
| Thinning overcrowded seedlings | Thin to recommended spacing on seed packet, typically 6 to 18 inches depending on crop | Each plant gets adequate resources, producing stronger growth and higher yield per plant |
| Companion planting combinations | Three Sisters, basil with tomatoes, marigolds around the bed perimeter | Some combinations have real pest-deterrent or nitrogen-fixing benefits |
| Saving seed from best plants | Save seed from open-pollinated or heirloom varieties, selecting healthiest specimens | Gradually adapts your crop to your specific soil and climate conditions |
| Crop rotation and fallowing | Rotate plant families across beds each year: nightshades, brassicas, legumes, roots in sequence | Breaks pest and disease cycles, balances nutrient demand, maintains long-term soil health |
A practical do-this-now plan
If you want to apply these principles immediately, here's a straightforward sequence based on what actually moves the needle. This isn't a complete crop management course. It's the highest-impact actions in the order that makes sense:
- Test or assess your soil first. You can get a basic soil test through your local cooperative extension service for under $20. It tells you pH and nutrient levels, which tells you exactly what to add. Without this step, you're guessing.
- Add 2 to 4 inches of compost and work it into your top 6 to 8 inches of soil before planting. If your soil is heavy clay or compacted, also add coarse sand or perlite. This single step improves water retention, drainage, and nutrient availability simultaneously.
- Choose your site deliberately. Pick the spot in your yard that gets the most direct sun from late morning through afternoon. For most vegetables, 6 to 8 hours of direct sun is the minimum. If that's not available, focus on crops that tolerate partial shade: leafy greens, herbs, brassicas.
- Plant at the right time for your climate. Check your last frost date and the seed packet's recommended planting window. Cool-season crops like lettuce, peas, and spinach go in early; warm-season crops like tomatoes, peppers, and squash wait until soil temperatures are consistently above 60 degrees Fahrenheit.
- Water deeply but infrequently. Give plants about 1 inch of water per week, delivered at the base of the plant rather than overhead. Deep watering encourages roots to grow downward toward stable moisture reserves. Shallow daily watering produces shallow root systems that stress easily.
- Mulch immediately after planting. A 3 to 4 inch layer of straw or wood chips around (not touching) your plant stems will dramatically reduce your watering workload and suppress the weeds you'd otherwise spend hours pulling.
- Weed aggressively for the first 6 weeks. After that, your mulch and plant canopy will handle most of the weed suppression. But in those early weeks, weeds can outcompete young seedlings fast.
- Thin your seedlings to the recommended spacing even though it hurts to pull up plants you grew from seed. Crowded plants underperform. One well-spaced plant will outproduce three crowded ones.
- At season's end, plan your rotation. Note what crop families you grew in each bed and plan to move them to different beds next year. Even a simple two- or three-bed rotation breaks most common pest and disease cycles.
- Save seed from your healthiest, most productive plants if you're growing open-pollinated varieties. Label them, store them in a cool dry place, and plant them next season. Over several years, this genuinely improves your results.
The throughline from ancient Mesopotamian grain farmers to your backyard vegetable plot is the same set of biological realities: plants need nutrient-rich, loose soil, consistent moisture at the roots, adequate sunlight, freedom from competition, and healthy genetics carried forward from season to season. Early farmers didn't have synthetic fertilizers, soil sensors, or drip irrigation controllers. But they identified the right variables and worked them skillfully. Understanding what they did, and why it worked, is the fastest way to cut through the noise of gardening folklore and focus on what actually grows better crops. A review using phytolith evidence for ancient Iraq reports that robust archaeobotanical data have led many archaeologists to conclude millet in Mesopotamia was mainly grown after the mid-1st millennium BCE, alongside large, state-sponsored irrigation systems blank" rel="noopener noreferrer">robust archaeobotanical evidence leading many archaeologists to conclude millet in Mesopotamia was mainly grown after mid-1st millennium BCE large state-sponsored irrigation systems. Pesticides help crops grow by protecting plants from destructive insect pests and certain diseases how do pesticides help crops grow.
FAQ
What should I focus on first if I want to apply the same early-farm principles in my garden?
Start with a simple goal-based plan: keep soil loose and organic-rich, ensure steady moisture at the root zone (not just frequent surface wetting), and then match planting time and spacing to your local season. If you do only one thing, focus on consistent root-zone moisture during germination and flowering, because yield losses from water stress at those stages are hardest to recover.
Do the early farmers’ soil methods work even if my soil seems depleted or compacted?
Yes, but with an important constraint. Organic amendments help because they feed soil microbes and improve nutrient availability over time, but they do not instantly replace nutrients if your soil is already very depleted. For best results, improve the soil now and also manage expectations for nutrient release, especially for heavy feeders.
How can I water in a way that matches early farmers’ focus on root-zone moisture?
Aim for moisture consistency rather than maximum watering. Early farmers relied on root-zone timing, so use watering sessions that soak deeply and then allow the top layer to partially dry before watering again. Avoid keeping seedlings in constantly waterlogged soil, because oxygen starvation increases disease risk.
How do I know whether I should thin seedlings or if my spacing is already right?
Use plants as living spacing indicators. If leaves are routinely touching at maturity, airflow is limited, and soil dries too slowly after watering, you likely planted too close. Early farmers found that thinning crowded stands improves root strength, nutrient access, and per-plant yield.
When is weeding most critical, and is there a point where it matters less?
Consider crop-specific competition timing. Weeds are most damaging when seedlings are small, so the “keep the area around crops clear” rule matters most in the first several weeks after planting. After the crop canopy develops, you can often reduce weeding frequency while still doing spot checks.
What’s the simplest rotation scheme that actually helps soil and interrupts pests?
Crop rotation works best when you rotate by biological role, not just by “different plant names.” Follow the same logic early farmers used: move heavy feeders away from their own families, include nutrient-replenishing crops like legumes when possible, and change soil-layer demands (for example, rotating with roots).
How do I save seed in a way that improves results instead of accidentally selecting for weaker plants?
Yes. Saved seed improves performance in your specific conditions only if you select from plants that were vigorous and healthy under your actual stress levels. If you save from plants that merely survived weakly, you can slowly drift toward poorer traits. Also, be mindful of cross-pollination rules for the varieties you grow.
What should I do differently if pest pressure is high in my area compared with a low-pressure year?
Use barriers and physical management early, because you usually can’t “out-spray” a serious infestation after populations build. Early farmers also reduced pest pressure with diversity and crop placement, so plant in mixed or well-structured blocks and prevent pests from gaining easy access during vulnerable growth stages.
Is companion planting always helpful, or are there times it can backfire?
Companion planting is most reliable when it supports a specific job, like shade to reduce drying, nitrogen support, or deterring certain insects, rather than hoping it repels everything. If it doesn’t help with your climate and pest species, you may get better results by prioritizing spacing, irrigation compatibility, and rotation.
How does using pesticides fit with the early-farm approach, and what’s the common mistake people make?
If you use pesticides, treat them as a targeted protection tool, not a substitute for the basics. Early farmers’ approach reduced the conditions pests needed (healthy plants, competition control, crop diversity, and timing). Overusing broad pesticides can harm beneficial insects, so start with monitoring and choose the least-disruptive option that prevents damage.
Next Articles
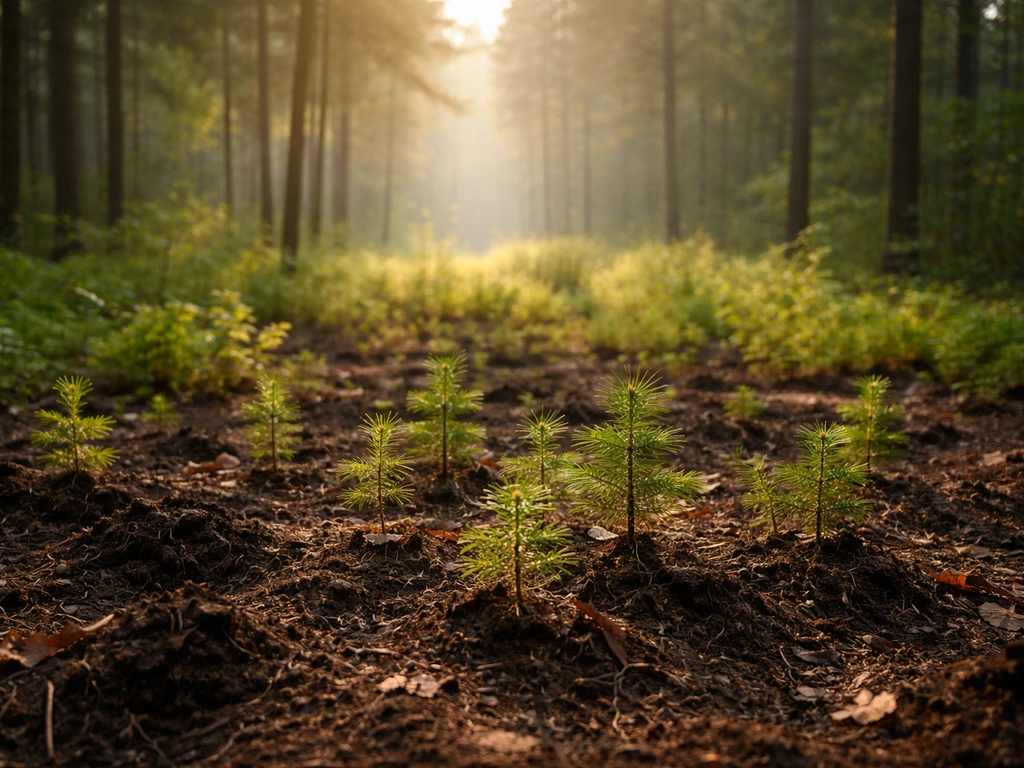
What Helps Forests Grow and Regenerate: Practical Levers
Learn what helps forests regrow, from light and soil to water, disturbance, invasives, and practical regeneration steps.
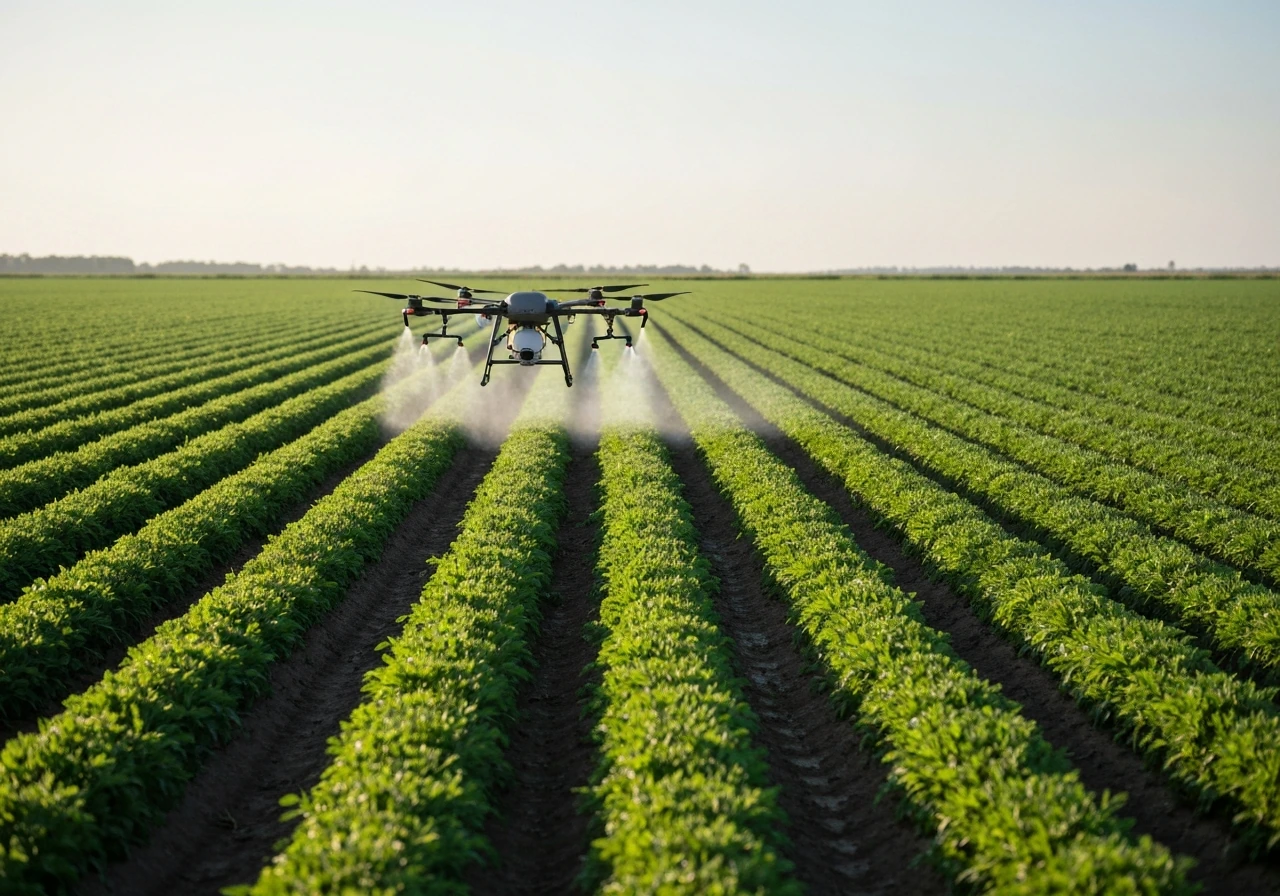
How Do Pesticides Help Crops Grow? Practical Guide
Learn how pesticides improve growth by cutting pests, disease, weeds, and stress, plus timing and safe IPM tips.
What Helps Roots Grow: Fix Root Growth Fast
Learn what helps roots grow and how to boost root growth fast with better soil, watering, oxygen, nutrients, and temp.